
Build your own bookshelves can be a rewarding and practical project, providing both a sense of accomplishment and a customized solution for your storage needs. Whether you’re a seasoned DIY enthusiast or a beginner looking to develop new skills, understanding how to build bookshelves will empower you to create sturdy and stylish furniture tailored to your space. In this guide, we’ll walk you through the essential steps, from selecting materials and tools to final assembly and finishing touches. With careful planning and a bit of creativity, you’ll be able to craft bookshelves that are not only functional but also enhance the aesthetic of your home.
What Type of Wood Is Best for Bookshelves?
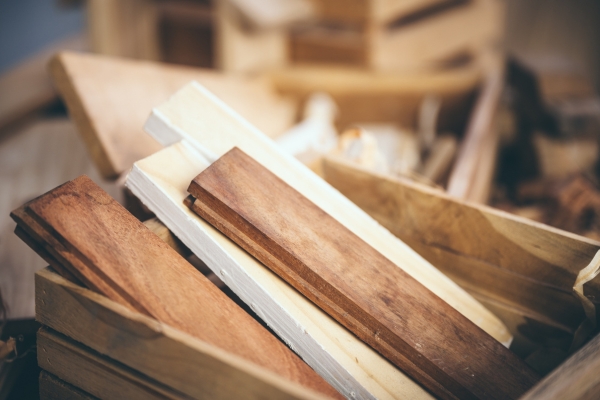
Choosing the right type of wood is crucial when building bookshelves. Hardwood varieties such as oak, maple, and cherry are often considered the best options due to their strength and durability. Oak, for instance, is known for its robust nature and attractive grain patterns, making it both a practical and aesthetically pleasing choice. Maple, with its fine, even texture, offers a smooth finish that is perfect for a polished look. Cherry wood, while more expensive, provides a rich, warm tone and ages beautifully over time. For those on a budget, plywood and MDF (medium-density fiberboard) can also be effective, especially when properly finished and supported. These materials offer a cost-effective alternative without sacrificing too much in terms of strength and stability. Ultimately, the best wood for your Decorate Top Of Bookshelves will depend on your budget, desired appearance, and the weight they need to support.
How Much Weight Can a Typical Bookshelf Hold?
Understanding the weight capacity of your bookshelf is essential to ensure safety and longevity. The weight a typical bookshelf can hold depends largely on the type of wood used and the construction quality. Hardwood shelves, such as those made from oak or maple, can typically support between 50 to 100 pounds per linear foot, assuming proper support and thickness. Plywood and MDF shelves might hold slightly less, around 30 to 50 pounds per linear foot, depending on their thickness and the support structure. It’s important to use sturdy brackets or supports to prevent sagging or bowing, especially for longer spans. Additionally, evenly distributing the weight and avoiding overloading any single shelf will help maintain the integrity of your bookshelf. By considering these factors, you can ensure your bookshelf remains functional and secure for all your storage needs.
Materials And Tools
Materials:
- Plywood Or Solid Wood
- 1×2 Or 1×3 Lumber
- Wood Screws
- Wood Glue
- Sandpaper
- Paint Or Wood Stain
- Primer
- Finish
Tools:
- Tape Measure
- Circular Saw Or Table Saw
- Drill
- Screwdriver
- Clamps
- Level
- Paintbrush Or Roller
Steps To Steps Build
1. Planning and Measuring
The first step in building a bookshelf is careful planning and measuring. Determine the dimensions of the bookshelf based on the space where it will be placed and the size of the items it will hold. Sketch a design that includes the height, width, depth, and number of shelves. Measure the area twice to ensure accuracy and make a list of the materials and tools you will need, including the type of wood, screws, brackets, sandpaper, and finishes.
2. Cutting the Wood
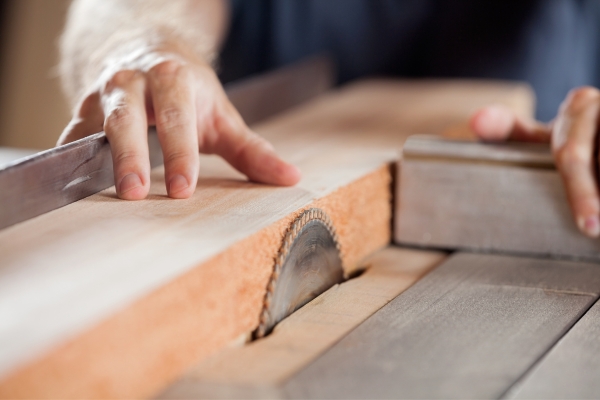
Once you have your plan and measurements, it’s time to cut the wood to size. Using a table saw or circular saw, carefully cut the boards for the sides, top, bottom, and shelves of your bookshelf. Ensure each piece is cut precisely according to your measurements. Double-check your cuts to avoid mistakes, as accuracy is crucial for the stability and appearance of the finished bookshelf.
3. Preparing the Pieces

With all the pieces cut, the next step is to prepare them for assembly. Sand each piece thoroughly to remove any rough edges and splinters. If you are planning to paint or stain the wood, now is the time to apply a primer or pre-stain conditioner. This preparation ensures a smooth and professional finish. Drill pilot holes for screws to prevent the wood from splitting during assembly.
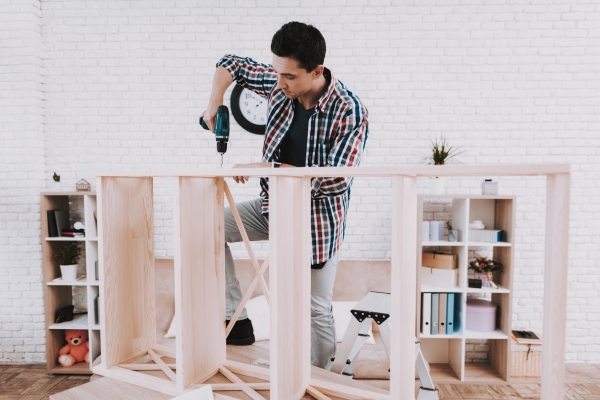
4. Assembling the Bookshelf

Start by assembling the frame of the bookshelf. Attach the sides to the top and bottom pieces using screws and wood glue for extra strength. Ensure the frame is square by checking the corners with a carpenter’s square. Once the frame is secure, attach the shelves at the desired heights, making sure they are level. Use brackets or additional supports for longer shelves to prevent sagging.
5. Finishing Touches
After the bookshelf is assembled, it’s time for the finishing touches. Fill any screw holes or gaps with wood filler and sand smooth once dried. Apply your chosen paint, stain, or varnish to protect the wood and enhance its appearance. Allow adequate drying time between coats. Finally, attach any additional features like backing panels, trim, or decorative elements to complete the look of your bookshelf.
Conclusion
Building a bookshelf from scratch can be a fulfilling and practical project that results in a personalized piece of furniture tailored to your needs. By following these steps—planning and measuring, cutting the wood, preparing the pieces, assembling the bookshelf, and applying the finishing touches—you can create a sturdy, stylish, and functional bookshelf that complements your home. With attention to detail and careful craftsmanship, your handmade bookshelf will be a lasting addition to your space.