LED strip lights are A top notch way to acquire just that. With their versatility And capability to convert any room, It’s no wonder they’ve emerge as increasingly popular in recent years. In this newsletter, We will guide you through the step-with the aid of-step procedure of Install set up LED strip lights for your ceiling, permitting you to create A stunning lights display with a purpose to depart your guests in awe. So whether you want tender, Ambient lights for A comfy night time or vibrant colorings for an lively amassing, Read on to learn how to convey the magic of strip lights into your home.
What Type Of LED Strip Lights Are Best For Ceilings?
When it comes to installing LED lights on ceilings, Selecting the right type is crucial. The best strip lights for ceilings are typically those that offer adjustable brightness and color options. High-quality, Energy-efficient lights with sufficient lumens are essential for ensuring A bright And vibrant look. They must also have A proper IP rating, Especially if used in damp locations. Consider your room’s aesthetics, The desired ambiance, And the lighting’s functional purpose when selecting the appropriate LED lamps for your ceiling.
How Do I Cut And Connect Multiple LED Strip Lights?
Cutting And connecting multiple LED lights can be A delicate process that requires attention to detail. Always check the designated cutting points on the strip, usually marked with an A-line or scissor symbol. Use a sharp pair of scissors or a specialized cutting tool to cut the strip at these points. To connect multiple strips, you can use connectors or soldering, depending on the strip type. Ensure that the connection is secure, And the polarity is consistent. Following the manufacturer’s instructions and using the proper tools will facilitate A seamless connection process.
Importance Of Installing LED Strip Lights On Ceiling

LED strip lights aren’t best aesthetically alluring but also extraordinarily purposeful, Making their installation on ceilings an increasing number of famous. By installing LED lighting fixtures, You can create a customized lighting ambiance that enhances your area’s design. They are strength-green, lessen electricity fees, And offer versatility in color, intensity, and pattern. Furthermore, their slender And flexible design allows for innovative packages around curves and corners. Properly mounted LED lamps at the ceiling can rework an normal room into A vibrant and inviting area, Enhancing each consolation and aesthetics.
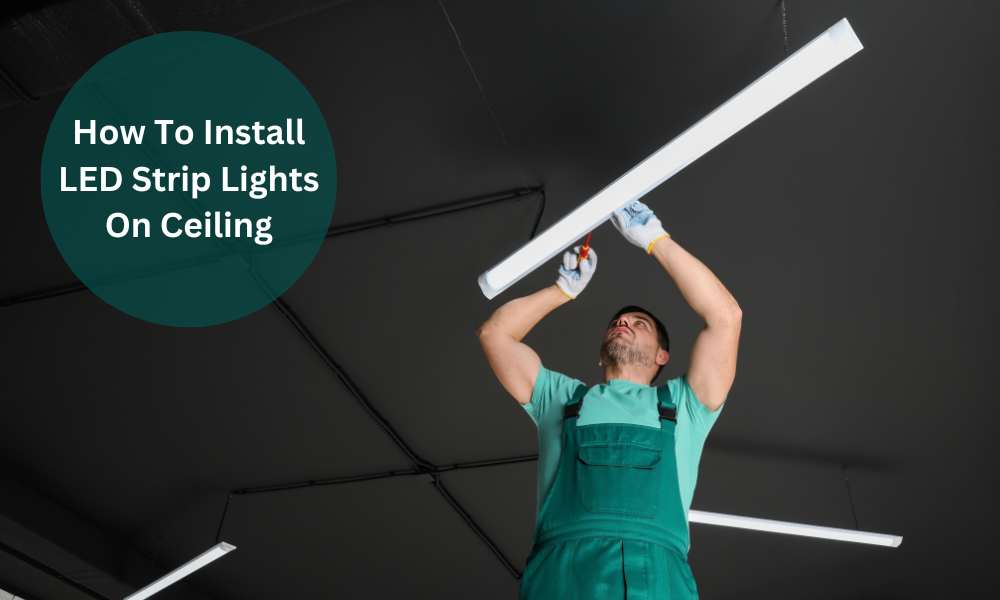
Here’s How To Install Led Strip Lights On Ceiling:
Choosing The Installation Location

Selecting the right location for LED lights is essential for achieving the desired lighting effect. Consider the area’s aesthetics, The functional purpose of the lamps, And potential obstacles. For ambient lighting, The perimeter of the ceiling may be suitable, while specific accent lighting may require A more focused placement. Always make sure to choose a location that provides even illumination and complements the room’s overall design.
Preparation Of The Surface
Before installing LED lights, Ensure that the surface is clean, dry, And smooth. Use A damp cloth to wipe away dust and debris, and let it dry completely. A clean surface will ensure a secure bond, whether you’re using adhesive or mounting clips. If needed, lightly sand uneven surfaces for optimal adhesion.
Applying Adhesive Or Mounting Clips

You can use adhesive backing or mounting clips. If the strip comes with adhesive backing, simply peel off the protective layer and press It firmly onto the prepared surface. For added security, or if the strip lacks adhesive, Mounting clips are A great option. Space them evenly and use appropriate screws or adhesive to attach them to the surface, then snap the LED strip into place.
Cutting LED Strips To The Correct Length
Properly measuring And reducing LED strips is essential for A specific fit. Use A measuring tape to determine the wished duration And discover the marked slicing points on the strip. Cut most effective at these specified points with A sharp pair of scissors or A specific reducing tool. Precise cutting ensures that the strip lighting healthy flawlessly within the chosen place and that every one connections continue to be purposeful. Always seek advice from the manufacturer’s tips to keep away from errors. By following these steps And paying near interest to detail, you could rework your ceiling with stunning and useful LED lamps, improving the aesthetics and environment of your area.
Connecting The Power Supply
The first step in installing LED strip lamps is connecting the power supply. You’ll need to identify A nearby power outlet and plug in the adapter. It’s essential to choose the correct voltage for your LED lamps to prevent overheating or under-lighting. Make sure to connect the power supply to the LED controller, Following the instructions provided with your kit. Use cable clips or adhesive tape to secure the wires along the wall If necessary.
Attaching The LED Strips

The next step is attaching the LED strips to the ceiling light idea. Clean the surface thoroughly with alcohol to ensure proper adhesion. Measure and cut the strips to the required length, taking care not to cut them in the wrong place. Many LED strips have an adhesive backing, so carefully peel off the backing And stick the strips to the ceiling. Press firmly to ensure they stick properly. If additional support is needed, you may use clips or brackets.
Wiring And Connection

Wiring And connection are critical to ensuring the LED lamps work correctly. If your strip requires additional wiring, You’ll need to connect the cut pieces using connectors or soldering them together. Follow the color coding or marking on the strip to match the connections. Connect the strips to the LED controller, Making sure to follow the instructions closely. Finally, test your connections by turning on the power And adjusting the settings as desired. Proper wiring ensures A smooth, Flicker-free lighting experience.
Final Adjustments And Testing The Lights

Once you have connected And wired the LED stripe lights, It’s time to make final adjustments. Ensure that the strips are evenly attached, And the wiring is neatly tucked away. You may want to add diffusers or adjust the angle of the strips for better light distribution. Next, Test the lamps using the controller, Checking for color, brightness, And any other features your LED strips may offer. This is the moment when you can appreciate your hard work And make sure everything functions as expected.
How To Troubleshoot Common Problems With LED Strip Lights?
Troubleshooting common problems with LED stripe lights can be relatively straightforward. First, Check if the lights are properly connected to the power source. Ensure that all connectors are securely plugged in And that there are no loose or damaged wires. If the lights still don’t turn on, Try replacing the power supply or adapter, As these can sometimes become faulty.
Another common issue is flickering or dimming lights. This can often be resolved by checking the voltage of the power supply and ensuring It matches the requirements of the guided ribbon lights. Additionally, Make sure that there are no loose connections along the strip itself as this can cause inconsistent lighting. If these steps don’t resolve the problem, It may be necessary to consult A professional electrician for further assistance.
The Final Thought
Install LED strip lights on your ceiling can transform the ambiance of any room. From connecting the power supply to final adjustments and troubleshooting, The process requires careful planning And execution. By following these steps And tips, You can enjoy the aesthetic And functional benefits of these versatile lighting solutions. Whether it’s enhancing A living room’s coziness or adding flair to A gaming setup, LED stripe lights can offer something special to your space. Enjoy your new lighting!