Looking to add both functionality and aesthetics to your living space? Discover the art of crafting bookshelves with our comprehensive guide on “How To Make Bookshelves.” Whether you’re a seasoned DIY enthusiast or a beginner eager to embark on a creative project, this tutorial provides step-by-step instructions to construct bespoke bookshelves tailored to your preferences. From selecting the right materials to mastering essential woodworking techniques, this guide offers invaluable insights to help you create stunning and functional bookshelves that enhance the charm of any room. Dive into the world of craftsmanship and unleash your creativity as you embark on this rewarding journey of building your own bookshelves.
What Are Bookshelves?
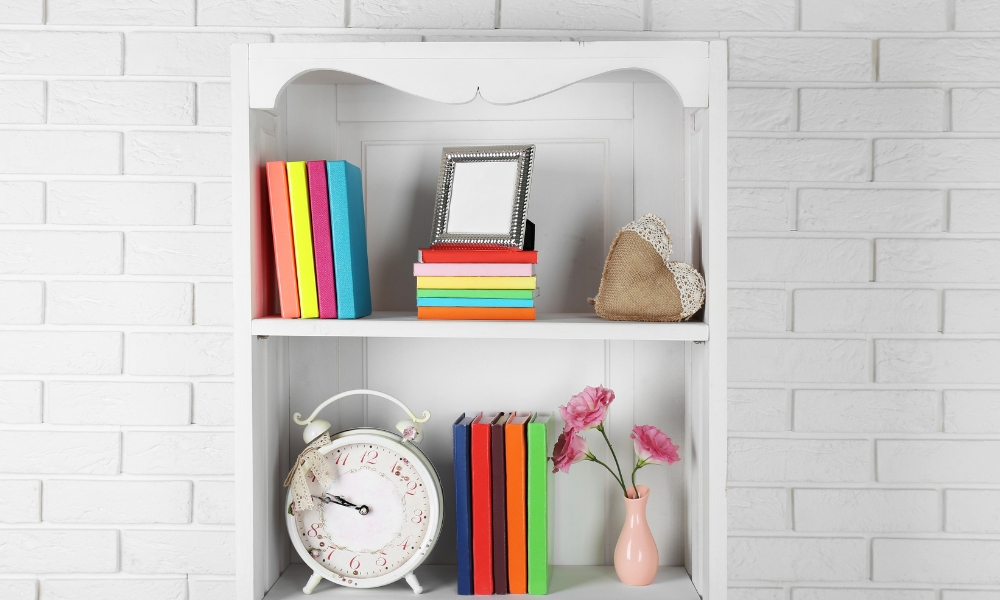
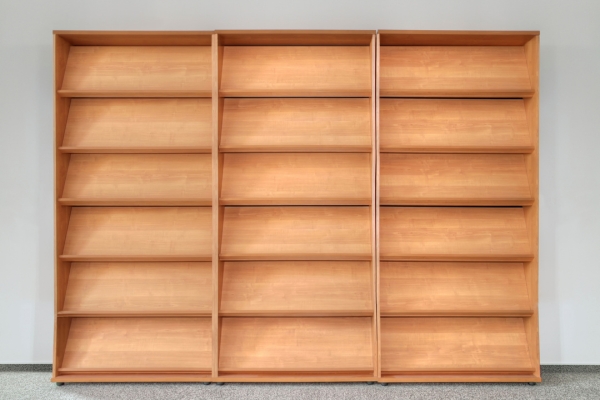
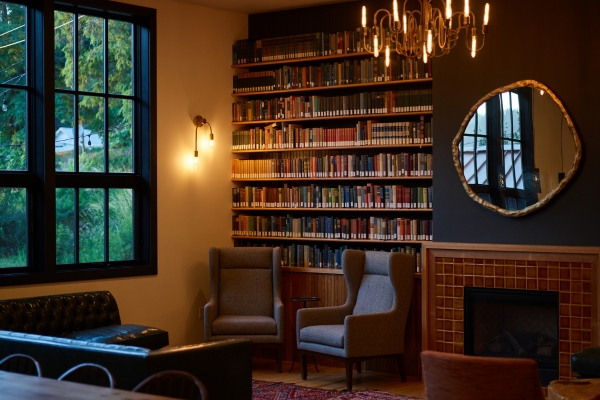
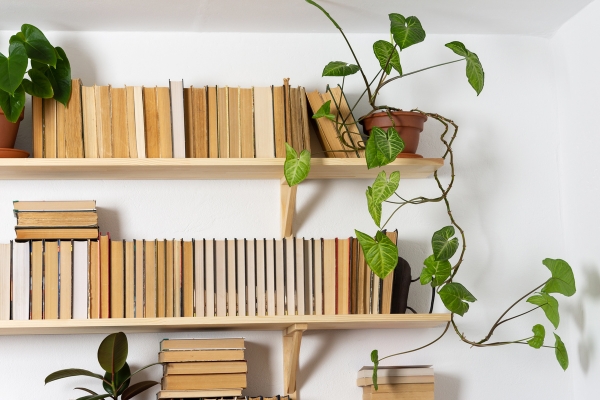
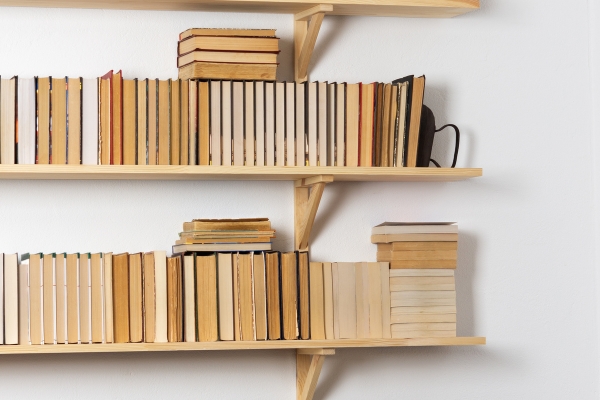
Bookshelves are essential furniture pieces designed to store and display books, decorative items, and other belongings. They come in various shapes, sizes, and styles, ranging from simple wall-mounted shelves to elaborate floor-to-ceiling bookcases. Bookshelves not only serve as practical storage solutions but also contribute to the overall aesthetics of a room, adding character and personality to the space.
Materials And Tools:
Materials:
- Plywood Or Solid Wood Boards
- Wood Screws Or Nails
- Wood Glue
- Sandpaper
- Wood Stain Or Paint
- Polyurethane
Tools:
- Tape Measure
- Circular Saw Or Table Saw
- Drill
- Screwdriver
- Level
- Clamps
- Paintbrush Or Roller
- Safety Goggles And Ear Protection
- Steps To Make A Bookshelf
Making Process
1. Design And Plan

Before diving into the construction process, it’s crucial to design and plan Decorate your bookshelves carefully. Consider factors such as the dimensions of the space where the shelves will be installed, the amount of storage needed, and the overall aesthetic you want to achieve. Sketch out your design, taking into account the style of the shelves, the type of wood to be used, and any additional features such as adjustable shelves or decorative moldings.
2. Cut The Wood
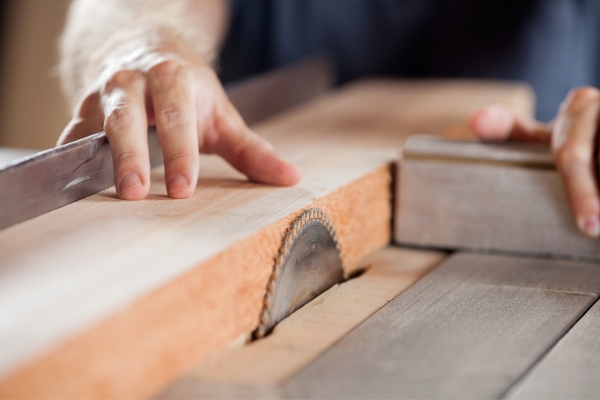
Once you have finalized your design and gathered the necessary materials, it’s time to start cutting the wood. Use a saw to cut the wooden boards to the appropriate lengths according to your design specifications. Take accurate measurements and use a straight edge or a miter saw to ensure clean, precise cuts. Depending on the complexity of your design, you may need to cut multiple pieces of wood to create the shelves, sides, back, and any other components.
3. Sand The Wood

After cutting the wood to size, the next step is to sand it to create a smooth and polished finish. Start with coarse-grit sandpaper to remove any rough edges, splinters, or imperfections from the wood surface. Then, gradually move to finer grits of sandpaper to achieve a smoother texture. Pay special attention to areas where the wood was cut, as well as any joints or edges that will be visible once the shelves are assembled. Sanding not only improves the appearance of the shelves but also prepares the surface for painting or staining, if desired.
4. Assemble The Frame
With the wood pieces cut and sanded, it’s time to assemble the frame of your bookshelves. Lay out the components according to your design plan, ensuring that everything fits together snugly. Use wood glue along the joints to create a strong bond between the pieces, and reinforce the connections with screws or nails for added stability. Use a level to ensure that the frame is square and upright, making any necessary adjustments as you go. Once the frame is assembled, allow the glue to dry completely before proceeding to the next step.
5. Install The Shelves
With the frame in place, it’s time to install the shelves. Position each shelf according to your design specifications, making sure they are level and evenly spaced. Depending on your preference, you can attach the shelves to the frame using screws, dowels, or shelf brackets. Double-check the alignment and stability of each shelf before moving on to the next one. If you opted for adjustable shelves, insert shelf pins or supports to hold them in place at the desired height. Once all the shelves are installed, step back and admire your handiwork before moving on to the final step.
6. Finishing
The finishing touches are what truly bring your bookshelves to life. If you prefer a natural look, you can apply a clear coat of polyurethane or varnish to protect the wood and enhance its natural beauty. Alternatively, you can paint the bookshelves to match your existing decor or add a pop of color to the room. Allow the finish to dry completely before moving the bookshelves into their final position. Once the finishing touches are complete, your custom-made bookshelves are ready to be filled with your favorite books, decorative items, and personal treasures, adding both functionality and style to your home.
7. Attach To Wall
Before you can fully enjoy your newly constructed bookshelves, it’s important to securely attach them to the wall to prevent accidents and ensure stability. Locate the wall studs using a stud finder and mark their positions on the wall. Position the bookshelves against the wall, ensuring they are level and centered in the desired location. Use a drill to create pilot holes through the back of the frame and into the wall studs. Then, drive screws through the holes and into the studs to securely anchor the bookshelves in place. For added safety, consider using wall anchors or brackets to provide additional support, especially for larger or heavier bookshelves. Once the bookshelves are securely attached to the wall, you can confidently arrange your books and decorations, knowing that they are safely supported.
Conclusion
Learning how to make bookshelves allows you to create customized storage solutions that not only serve a practical purpose but also add character and style to your home. By following the step-by-step process outlined in this guide, you can design and construct bookshelves that perfectly suit your needs and preferences. From designing and planning to cutting, assembling, and finishing, each stage of the process offers an opportunity for creativity and personalization. Whether you’re a seasoned DIY enthusiast or a novice woodworker, making your own bookshelves is a rewarding and fulfilling project that allows you to showcase your craftsmanship and enhance the functionality and beauty of your living space. So roll up your sleeves, gather your materials, and embark on the journey of creating beautiful and functional bookshelves that you’ll be proud to display for years to come.