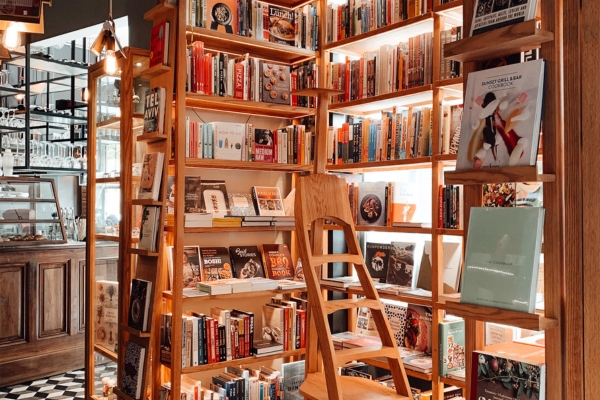
Creating a sleek and modern look for your home can be as simple as learning how to make floating bookshelves. These innovative shelves not only provide functional storage but also add a touch of elegance to any room. By mastering this DIY project, you can display your favorite books and decorative items in a way that appears to defy gravity. In this guide, we’ll walk you through the steps to build your own bookshelves, ensuring a sturdy and stylish addition to your home decor. With just a few materials and some basic tools, you’ll transform your walls into a captivating focal point.
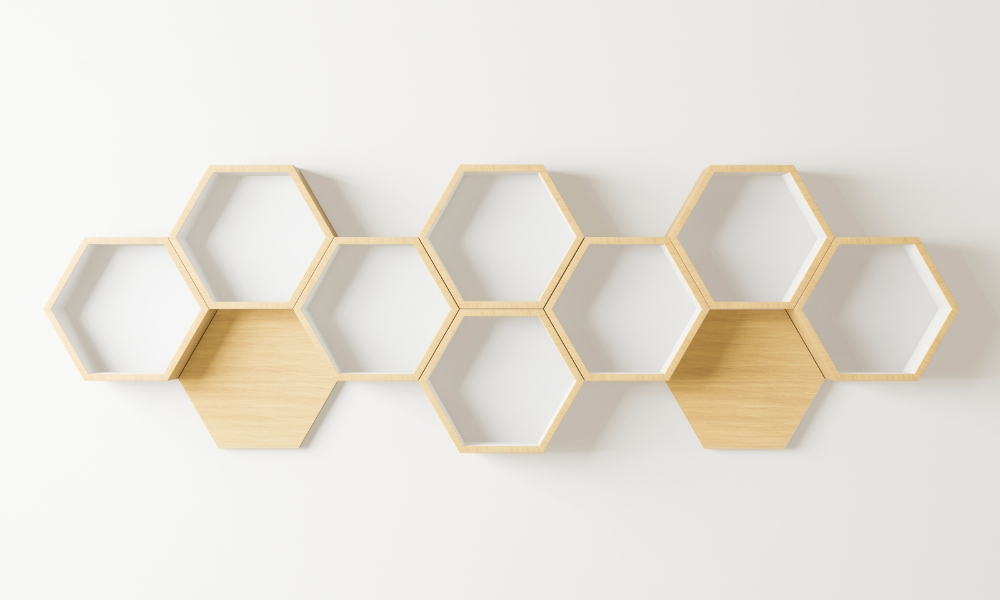
What Are Floating Bookshelves?
Floating bookshelves are a modern and minimalist storage solution that creates the illusion of books and other items floating seamlessly against the wall. Unlike traditional shelves that have visible brackets and supports, bookshelves use hidden hardware that is mounted to the wall, providing a clean and uncluttered appearance. These shelves can be made from various materials such as wood, metal, or acrylic, and come in different sizes and styles to fit any decor. The sleek design of bookshelves makes them a popular choice for those looking to maximize space while maintaining an elegant and contemporary look.
Why Choose Floating Bookshelves?
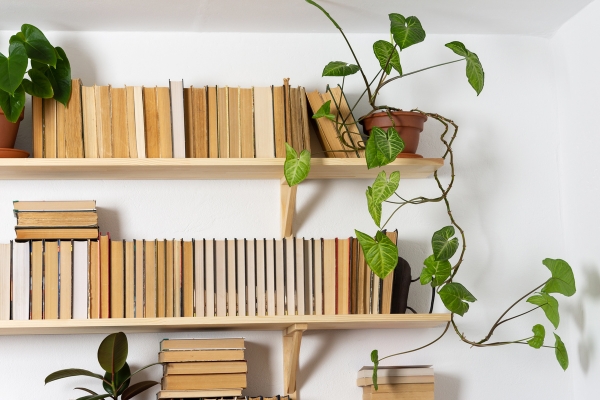
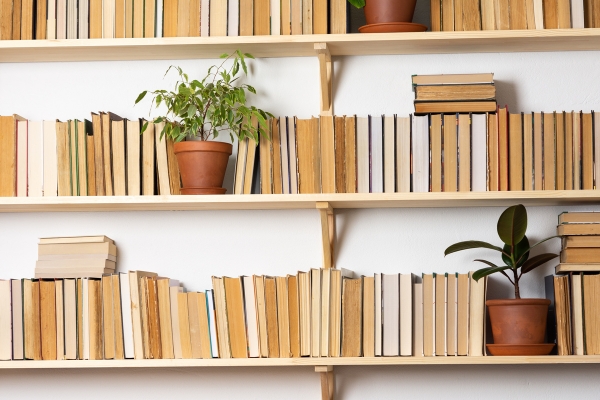
Choosing floating bookshelves offers several advantages for your home. Firstly, their minimalist design helps to create a sense of openness and space, making even small rooms feel larger and less cluttered. This can be particularly beneficial in apartments or homes with limited square footage. Secondly, Deep Are Bookshelves provide a versatile and stylish way to display books, artwork, and decorative items, enhancing the aesthetic appeal of any room. Additionally, these shelves are relatively easy to install and can be customized to match your existing decor, allowing for a personalized touch. Finally, bookshelves are not only functional but also add a modern, sophisticated element to your home, making them an excellent choice for anyone looking to update their interior design.
Materials Needed:
- Wood Boards
- Brackets
- Screws
- Wall Anchors
- Level
- Drill
- Stud Finder
- Tape Measure
- Pencil
- Sandpaper
- Paint Or Stain
- Paintbrush Or Cloth
Making Process
1. Measure and Plan

The first step in creating floating bookshelves is to measure and plan. Determine the wall space where you want to install the shelves and measure the length, width, and height available. Consider the number of shelves you need and their spacing to ensure a balanced and functional arrangement. Sketch a rough plan to visualize the placement and dimensions of your bookshelves.
2. Select and Prepare the Wood
Next, select the type of wood you want to use for your shelves. Common choices include pine, oak, or maple due to their durability and attractive grain patterns. Cut the wood to your desired shelf dimensions, and sand the edges and surfaces to ensure a smooth finish. You may also choose to stain or paint the wood to match your decor.
3. Locate the Studs
Before mounting your shelves, it’s crucial to locate the wall studs. Use a stud finder to mark the positions of the studs within the wall where you plan to install the shelves. Anchoring the brackets to studs ensures that the shelves will be securely supported, capable of holding the weight of books and other items.
4. Attach the Brackets

Attach the brackets to the wall at the marked stud locations. Use a level to ensure that the brackets are perfectly horizontal. Secure the brackets with screws, making sure they are tightly fastened to provide a sturdy base for the shelves. Depending on the style of floating shelves you choose, the brackets may be completely hidden or partially visible.
5. Mount the Shelves
With the brackets in place, mount the prepared wood shelves onto the brackets. Depending on the design, you may need to slide the shelves onto the brackets or secure them with additional screws. Ensure that the shelves are level and firmly attached to the brackets, providing a stable and secure platform for your items.
6. Finishing Touches
Finally, add the finishing touches to complete your floating bookshelves. Touch up any paint or stain as needed, and add decorative elements such as end caps or trim for a polished look. Arrange your books and decor items on the shelves, balancing aesthetics and functionality to create an eye-catching display.
Conclusion
Learning how to make bookshelves is a rewarding DIY project that combines practicality with style. By following these steps, you can create beautiful and functional storage that enhances any room in your home. With careful planning, selection of materials, and attention to detail, your floating bookshelves will not only serve as a practical solution but also as a statement piece that adds elegance and charm to your living space.