Creating your own lava lamp is a fun and educational project that allows you to explore basic scientific principles while crafting a mesmerizing decorative item. In this guide on how to make lava lamps, we will walk you through the simple steps and materials needed to produce a captivating display of liquid motion and vibrant colors. Whether you’re looking for a unique activity to do with kids or a creative way to add some flair to your home decor, making a lava lamp is an enjoyable and straightforward process that anyone can do.
What Is a Lava Lamp?
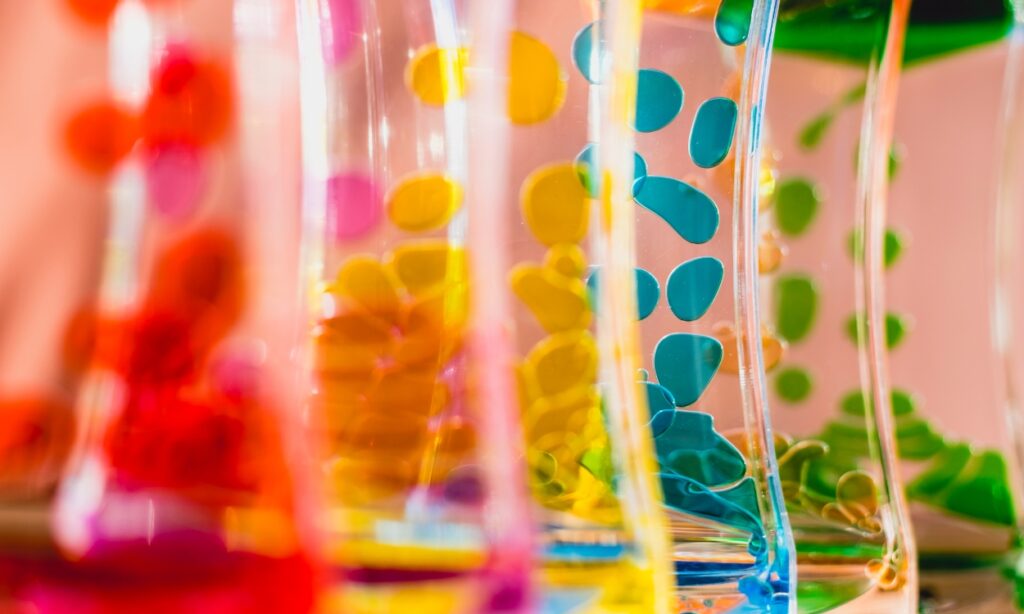
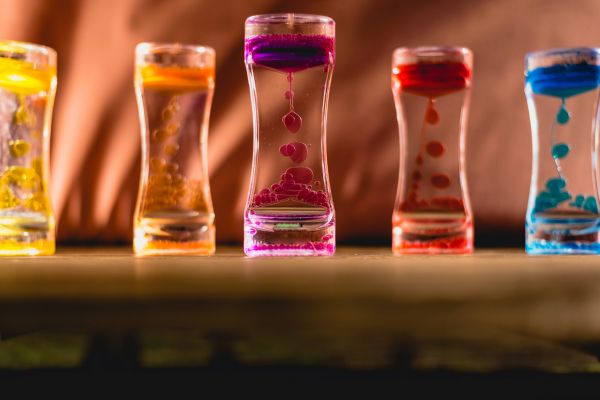
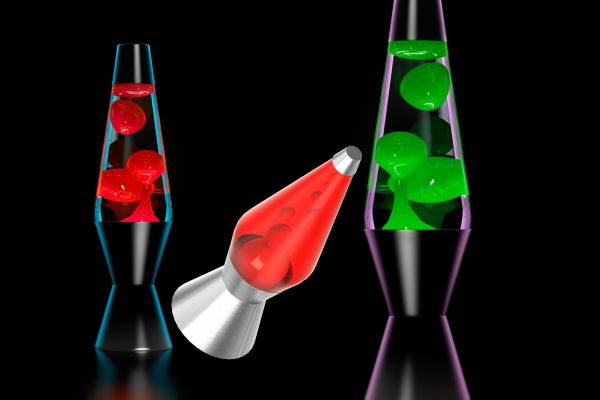
A lava lamp is a decorative novelty item that contains a brightly colored liquid and floating blobs that move in a mesmerizing pattern. The classic lamp effect is created by the interaction of two immiscible liquids with different densities, typically water and oil, and a heat source that causes the blobs to rise and fall. The soothing and captivating motion of the blobs makes lamps a popular item for both relaxation and decoration.
Why Make Your Own Lava Lamp?
Making your own lamp is not only a fun and engaging activity but also an excellent educational project. It provides a hands-on way to learn about scientific concepts such as density, immiscibility, and the effects of temperature on liquids. Additionally, homemade lamps are customizable, allowing you to choose your favorite colors and experiment with different effects. Creating a lava lamps Work can also be a cost-effective alternative to purchasing one, and it offers a sense of accomplishment from crafting something unique and visually appealing.
Tips and Tricks for Perfect Lava Lamps
To ensure your homemade lava lamp works perfectly, there are a few tips and tricks to keep in mind. First, use a clear bottle or container to allow for the best visibility of the lava effect. When adding food coloring, start with a few drops and gradually increase to achieve your desired color intensity without overpowering the look. It’s also helpful to use warm water, as this can enhance the movement of the blobs when you add the effervescent tablet. If you want to prolong the activity, you can add more pieces of the tablet over time. Lastly, experimenting with different amounts of oil and water can help you find the perfect balance for the most captivating motion.
Materials Needed
Before We Get Started, Let’s Gather Everything You’ll Need. Here’s A List Of The Basic Supplies:
- A Clear Container (A Clean, Empty Bottle Or Jar Works Well)
- Water
- Vegetable Oil (Or Any Other Household Oil)
- Food Coloring
- Effervescent Tablets (Like Alka-Seltzer)
- Optional: Glitter, Small Beads, Or Other Decorative Additions
Step-By-Step Guide To Making A Lava Lamp
Step 1: Gather Your Materials
To make your own lava lamps, you’ll need a few simple materials that are likely already available at home. Gather a clear glass or plastic bottle, vegetable oil, water, food coloring, and effervescent tablets (such as Alka-Seltzer). Having everything ready before you start will make the process smoother and more enjoyable.
Step 2: Fill the Container with Water
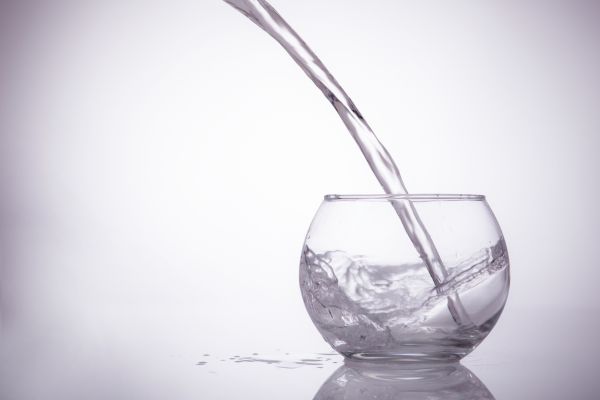
Begin by filling your bottle or container about one-quarter full with water. The water will serve as the base layer in your lamp. Make sure to leave enough space at the top of the container for the oil and the movement of the blobs. This step is crucial as it sets the foundation for the separation of the oil and water, which creates the iconic lamp effect.
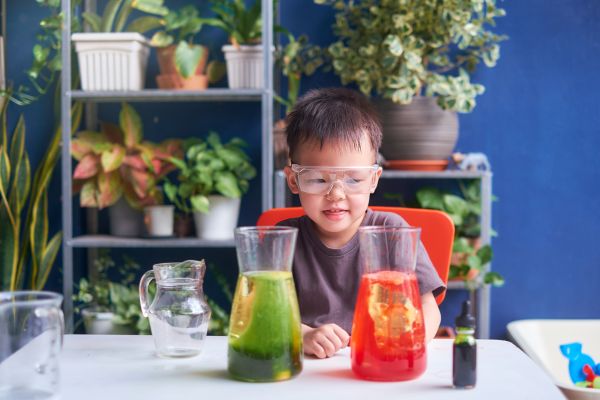
Step 3: Add the Food Coloring
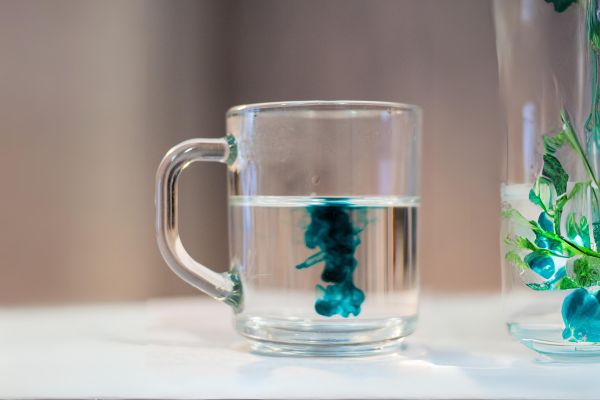
Next, add a few drops of food coloring to the water. Choose a color that you like and watch as the drops mix with the water, creating a vibrant base. The food coloring will not mix with the oil, which is essential for achieving the classic lamp effect. Stir gently to ensure the color is evenly distributed throughout the water.
Step 4: Pour in the Oil
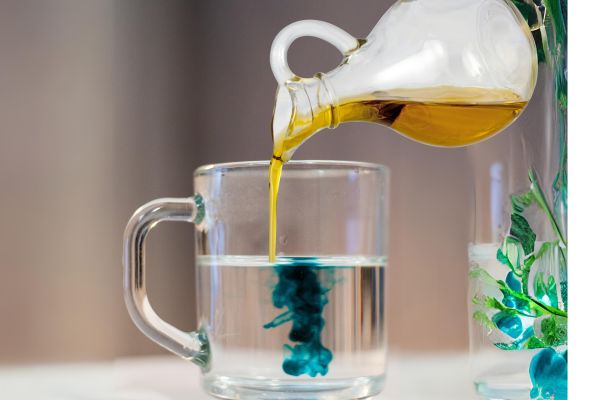
After the food coloring is mixed, it’s time to pour in the vegetable oil. Slowly fill the rest of the container with oil, leaving a little space at the top. You’ll notice that the oil floats on top of the colored water due to its lower density. This separation is what allows the blobs to form and move when you activate the lava lamps. Pouring the oil slowly helps prevent bubbles and ensures a clear division between the two liquids.
Step 5: Add Effervescent Tablets

Now it’s time to bring your lava lamps to life. Break an effervescent tablet into smaller pieces if necessary, and drop one piece into the container. The tablet will sink to the bottom and start to fizz, creating gas bubbles that carry the colored water upward through the oil. As the bubbles reach the top and burst, the colored water blobs will fall back down, creating the mesmerizing lava lamps effect. You can add more pieces of the tablet to keep the reaction going.
Step 6: Enjoy the Show
Sit back and enjoy the show! Watch as the colored blobs rise and fall, creating a soothing and hypnotic display. This is a great time to experiment with different colors and tablet amounts to see how they affect the movement and appearance of your lava lamp.
Conclusion
Making your own lava lamp is a fun and educational activity that provides a wonderful blend of science and creativity. By following these simple steps, you can create a unique and captivating decorative piece. Not only does this project offer a visual treat, but it also teaches basic scientific principles in an engaging way. Enjoy the beauty and relaxation that your homemade lava lamps brings to your space!