
Cabinet rack clips are essential components in keeping your kitchen cabinets organized and functional. They hold the shelves in place, ensuring that they don’t slide or wobble. However, there may come A time when you need to remove these clips – whether you’re replacing A broken clip or repositioning A shelf. Removing cabinet rack clips can be tricky, Especially if you don’t know the proper technique. In this Article, We’ll provide step-by-step instructions on how to remove cabinet shelf clips without damaging your cabinets or shelves. Whether You’re A DIY enthusiast or just Looking to save Some money on home repairs, This guide will help you get the job done quickly And easily. So let’s get started!
What Are Cabinet Shelf Clips?
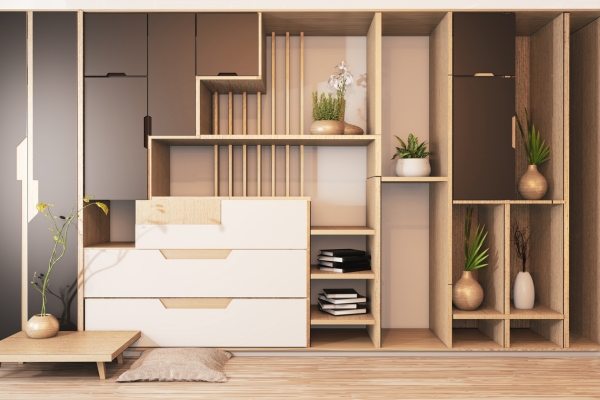
Cabinet rack clips are small hardware pieces used to secure shelves inside cabinets. These clips are designed to hold the shelves in place, Preventing them from sliding or falling off. They typically consist of two parts: A metal clip that attaches to the cabinet wall or side panels, And A plastic or metal support that fits into the clip And holds the shelf. sideboard rack pins come in various shapes And sizes to accommodate different cabinet designs. They are essential for maintaining organization And stability within cabinets, Ensuring that the shelves remain securely in position And can bear the weight of items placed on them. These clips are commonly used in kitchen cabinets, Bookshelves, And other furniture pieces with adjustable shelving.
The Benefit Of Cabinet Shelf Clips Remove
Cabinet shelf pins are an essential part of any kitchen cabinet system. They hold shelves securely in place, making them stable And safe for storing your kitchen items.
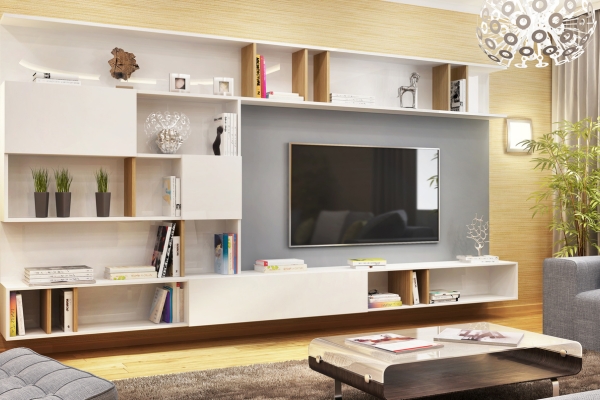
The primary benefit of removing sideboard rack pins is that It allows you to customize your kitchen cabinets according to your needs. If you have tall cookware that doesn’t fit on the current shelves, Removing one or two pins can give you the extra space needed without having to buy new cabinets altogether. Additionally, If you plan on renovating your kitchen or changing the layout completely, removing all the shelf pins will make it easier for contractors to work on your cabinets without causing damage.
Here’s what you need to do to make this work
Step 1: Empty The Cabinet
Removing cabinet rack clips often requires A bit of maneuvering, So It’s crucial to start with an empty cabinet. Not only does this offer A clear working space, But It also protects your items from any accidental damage. Be sure to sort through all your items methodically, grouping similar items together, which can make reorganizing easier later on. Keep them in A safe, Out-of-the-way location to prevent tripping or misplacement. Take this opportunity to clean the shelves if needed. Dust or grime can sometimes obscure your view of the shelf pins. Remember, A clean And clear working space is essential for efficient work. Always prioritize your safety And the protection of your items before starting any home improvement task.
Step 2: Locate The Shelf Clips
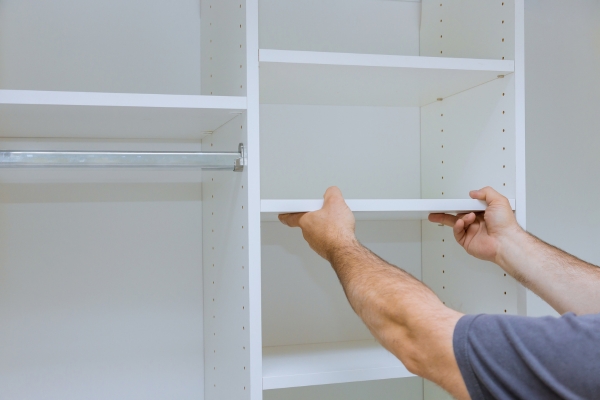
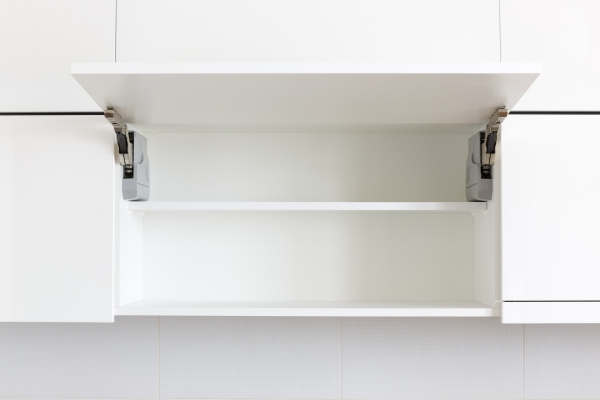
Once your cabinet is empty, the next step is to locate the shelf pins. They come in A variety of shapes And sizes but are usually positioned at the four corners of each shelf. Look closely at the inner sides of the cabinet.
The clips are generally metal or plastic pieces that support the shelf by fitting into pre-drilled holes on the cabinet sides. It’s essential to inspect each clip’s position carefully, Taking note of any differences in size or shape. Identifying their exact locations will help you determine the best way to remove them without causing unnecessary strain or damage to the cabinet. Always make sure to have adequate lighting, And don’t hesitate to use A flashlight if necessary.
Step 3: Assess The Clip Type
Once you’ve located the clips, the next crucial step is to assess the type of shelf clip used in your cabinet. Common types include metal or plastic pegs, brackets, or locking clips. Some may simply require A gentle pull, While others may need A specific tool, Like A screwdriver or pliers, for removal. Understanding the clip type is critical for determining the appropriate method of removal. For instance, with locking clips, You must disengage the lock first. If you’re unsure about the clip type or how to remove it, Consider researching or seeking professional advice. Remember, forcing a clip out the wrong way could damage your cabinet. It’s better to take your time And approach the task with the right information And tools.
Step 4: Removing Shelf Clips With Screws
Now, For those with screw-based shelf pins, You’ll need A bit more than just your hands. You’ll require A screwdriver that matches the screws on your clips – This is typically either A flathead or Phillips-head screwdriver. First, position the screwdriver on the screw head And turn counterclockwise to loosen It. Apply steady pressure, making sure not to strip the screw head. Repeat the process for all clips. Remember, once the screws are removed, The shelf may shift, So be prepared to support It to prevent any damage or injury. Gather all the screws And clips in A safe place to prevent misplacement. Even if you’re planning to replace the clips, It’s always A good idea to keep the originals as references.
Step 5: Removing Shelf Clips Without Screws

When It comes to removing shelf pins without screws, Typically those held in by pressure or A locking mechanism, you might require A different approach. Generally, These types of clips can be removed by gently pulling or pushing them from their position.
Sometimes, A small flathead screwdriver or A pair of needle-Nose pliers can be used to carefully pry the clip out of the hole. Be careful not to use too much force, As this could damage the cabinet. Once all clips are removed, Again, Be ready to support the shelf. It’s crucial to work slowly and methodically, Removing one clip at A time And always being aware of the shelf’s stability throughout the process.
Step 6: Removing Stubborn Shelf Clips
For stubborn shelf pins that won’t budge easily, You’ll need to use A bit more strategy. First, Examine why the clip is stuck. It could be due to paint, Rust, or A damaged clip. If it’s painting, Use A utility knife to carefully cut around the clip. For rust, Applying A rust dissolver can help. If the clip is damaged, It may require pliers or A pry bar to carefully remove It or remove the floating shelf. Always take caution not to damage the cabinet itself. When dealing with stubborn clips, patience is key. Apply steady, controlled force rather than resorting to A quick yank. Remember, if all else fails, consider seeking help from a professional to prevent damaging your cabinet.
Step 7: Clean And Prepare The Cabinet
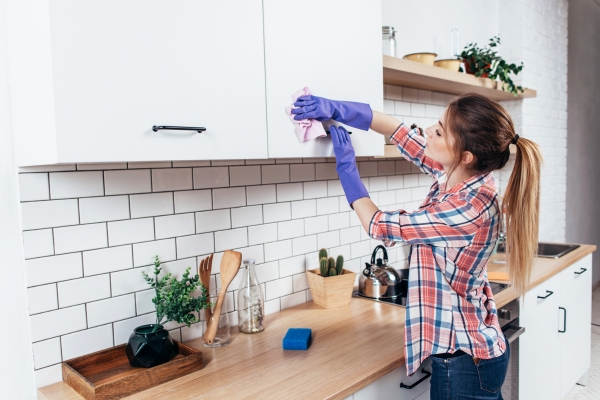
Having removed the shelves And their respective clips, It’s time to tidy up the cabinet. Start by vacuuming or sweeping out any dust or debris inside. Wipe the interior with A damp cloth to ensure A clean surface. This step is not only crucial for aesthetics but also for the health of those living in your home, as accumulated dust and grime can potentially cause health issues.
Once you’re done cleaning, Inspect the area where the clips were installed. If any damage was done during the clip removal, now is the time to make repairs. If the cabinet is wooden, fill any large holes with wood filler and sand it smooth once dry. For metal cabinets, you can use epoxy resin. Remember to apply a coat of paint matching the cabinet’s color to make any repair work less noticeable.
Step 8: Reinstalling Shelves Or Installing New Ones
With a clean and prepped cabinet, you’re now ready to reinstall the shelves. If you’re reusing the old shelves, Check them for any signs of wear And tear. Sand And varnish wooden shelves if necessary, Or clean metal shelves before reinstalling.
When reinstalling, line up the shelf pins with the holes or slots in the cabinet. Make sure the clips are secure and stable before putting the shelves back in place. Apply even pressure when placing the shelf on the clips. Repeat the process for each shelf, ensuring each is level.
If you’re installing new shelves, Measure the width, Depth, and height of the cabinet to get the correct shelf size. Cut the shelves to size if necessary, Prepare them as you would old shelves, and install them using the same steps as above.
Conclusion
Remove And reinstalling cabinet shelf clips might seem like A small task, But It’s one that can significantly improve the functionality And look of your cabinets. With the right tools, A little patience, And the steps outlined in this blog, you can turn this seemingly complex process into A simple DIY project. Your beautifully maintained or updated cabinets will not only add charm to your space but also serve you better for years to come. Whether you’re simply reorganizing your existing shelves or installing new ones, this task can bring A fresh feel to your home.