
Looking to add both functionality and aesthetic appeal to your living space? Learning how to build bookshelves offers a rewarding DIY project that not only enhances organization but also lends a touch of personalized craftsmanship to your home. Whether you’re a novice or a seasoned DIY enthusiast, constructing your own bookshelves allows for customization to suit your specific needs and style preferences. From selecting the right materials to mastering essential techniques, this guide will walk you through the step-by-step process of creating sturdy, stylish bookshelves that seamlessly integrate into your living environment. With careful planning and attention to detail, you can embark on this fulfilling endeavor and transform your space into a haven for both literature and design.
How Long Does It Take to Build a Bookshelf?
The time it takes to build a bookshelf can vary depending on factors such as the complexity of the design, your level of experience with woodworking, and the tools available to you. Generally, a simple bookshelf project can be completed in a weekend with basic hand and power tools. However, more intricate designs or larger bookshelves may require additional time and planning. Taking the time to carefully measure, cut, and assemble each component ensures a sturdy and visually appealing final product.
What Type of Wood Is Best for Bookshelves?
When selecting wood for building bookshelves, it’s essential to consider both aesthetic appeal and durability. Hardwoods such as oak, maple, cherry, and walnut are popular choices for their strength and attractive grain patterns. These woods are less prone to warping or bowing over time, making them ideal for supporting heavy book collections. Alternatively, plywood or medium-density fiberboard (MDF) offer budget-friendly options without compromising on stability. Whichever type of wood you choose, ensure it is properly seasoned and free from defects to guarantee longevity and structural integrity.
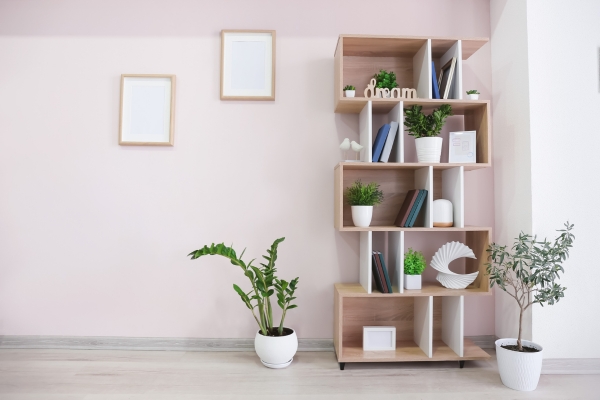
Importance of Bookshelves
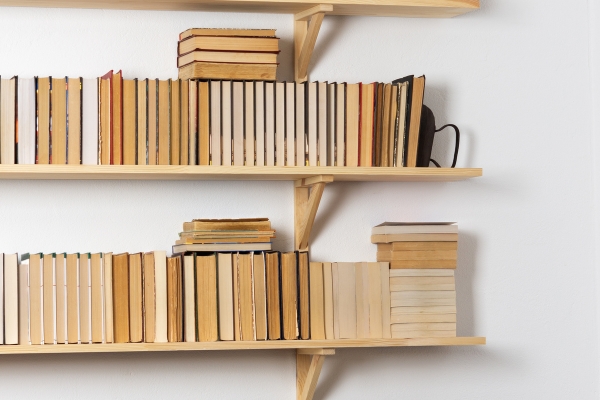
Bookshelves serve as more than just storage solutions; they are essential components of any well-organized home or office space. Beyond providing a designated place for books, bookshelves can also showcase decorative items, family photos, and treasured mementos, adding personality and charm to a room. Additionally, bookshelves promote a culture of literacy and learning by encouraging easy access to reading materials. By keeping books neatly organized and easily accessible, Make bookshelves facilitate a conducive environment for study, relaxation, and intellectual growth. Furthermore, strategically placed bookshelves can maximize vertical space, helping to optimize room layout and create a sense of balance and harmony within the space.
Materials And Tools
Materials:
- Plywood Or Solid Wood For The Shelves And Sides
- Wood Screws
- Wood Glue
- Sandpaper
- Wood Filler
- Paint Or Stain
- Shelf Brackets
- Backboard
- Trim/Moulding
Tools:
- Measuring Tape
- Pencil
- Circular Saw Or Table Saw
- Drill
- Screwdriver
- Clamps
- Level
- Sanding Block Or Power Sander
- Paintbrush Or Roller
- Carpenter’s Square
Step To Step Guide
1. Plan Your Bookshelves
Before diving into construction, take some time to carefully plan your bookshelves. Consider factors such as the desired size, shape, and style of the shelves, as well as the space where they will be installed. Sketch out a design or use online tools to visualize your ideas. Planning ahead will help ensure that your bookshelves meet your specific needs and preferences.
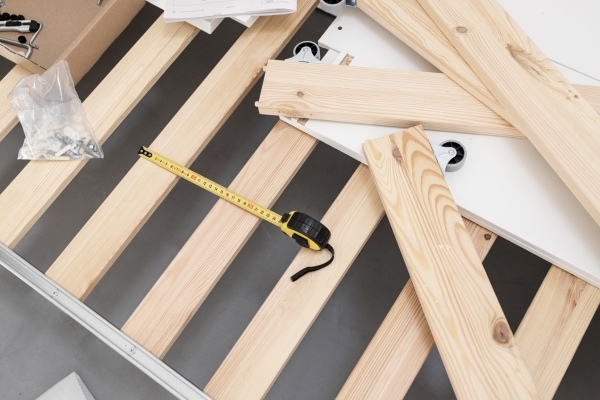
2. Measure and Cut Wood
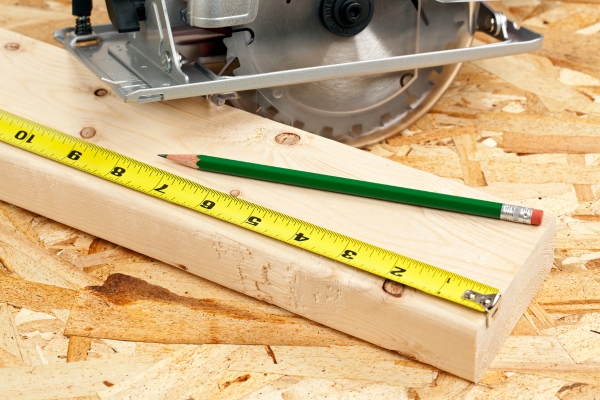
Once you have a clear plan in place, it’s time to gather your materials and start cutting the wood. Measure the dimensions for each shelf and mark them on the wood using a pencil and ruler or a measuring tape. Double-check your measurements to ensure accuracy. Then, using a saw appropriate for your chosen type of wood, carefully cut along the marked lines to create the individual shelves and support pieces according to your design.
3. Sand the Wood

After cutting the wood pieces, it’s important to sand them to smooth out any rough edges and prepare the surface for finishing. Use a fine-grit sandpaper or a sanding block to gently sand the edges and surfaces of each piece until they are smooth to the touch. Be sure to sand in the direction of the wood grain to avoid causing any scratches or damage. Once all the pieces have been sanded, wipe away any dust with a clean cloth or tack cloth before proceeding to the next step in the construction process. Sanding not only enhances the appearance of the shelves but also helps ensure a professional-looking finish once the bookshelves are assembled and installed.
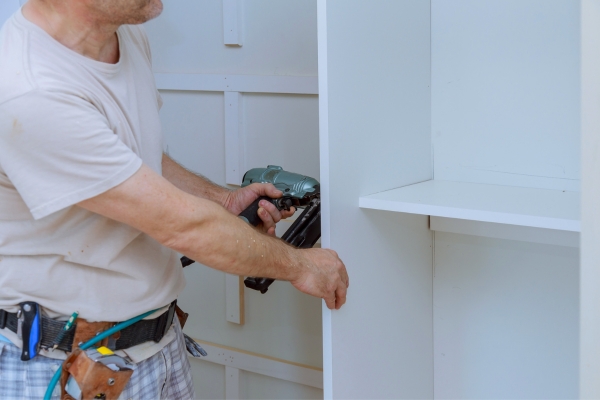
4. Assemble The Frame
With the individual wood pieces cut and sanded, it’s time to assemble the frame of your bookshelves. Begin by laying out the vertical support pieces (side panels) and arranging them according to your design plan. Then, using a combination of screws, nails, or wood glue, securely attach the horizontal support pieces (top, bottom, and middle supports) to the side panels to form the frame structure. Ensure that everything is aligned properly and that the frame is sturdy and level before proceeding to the next step.
5. Install Shelves
Once the frame is assembled, it’s time to install the shelves. Begin by measuring and marking the desired placement for each shelf within the frame, taking into account the height of your books or other items. Then, carefully slide each shelf into position, ensuring that they are level and evenly spaced. Depending on your design, you may choose to secure the shelves in place using screws, dowels, or shelf pins. Double-check the alignment and stability of each shelf before moving on to the final step.
6. Attach the Backboard

To complete your bookshelves and add structural integrity, attach a backboard to the rear of the frame. This can be made from a single piece of plywood or MDF cut to fit the dimensions of the frame. Secure the backboard to the frame using screws or nails, making sure to space them evenly along the edges to prevent warping. Once the backboard is attached, your bookshelves are ready for finishing touches such as paint, stain, or varnish to enhance their appearance and protect the wood from damage. With the backboard in place, your bookshelves are now fully assembled and ready to be installed in your home or office space.
7. Fill Screw Holes And Sand Again
After assembling the bookshelves and attaching the backboard, it’s time to give them a final touch-up before finishing. Begin by filling any visible screw holes or gaps with wood filler using a putty knife. Smooth the filler evenly over the holes and allow it to dry completely according to the manufacturer’s instructions. Once dry, use fine-grit sandpaper to sand down the filled areas until they are flush with the surface of the wood. Sand the entire surface of the bookshelves once again to ensure a smooth and consistent finish, paying extra attention to any rough spots or imperfections.
8. Paint or Stain

With the bookshelves fully sanded and prepped, it’s time to apply the finish of your choice. Whether you opt for paint or stain depends on your personal preference and the desired look for your space. If painting, use a high-quality paintbrush or roller to apply a coat of paint evenly across the entire surface of the bookshelves. Allow the paint to dry completely between coats, and apply additional coats as needed for full coverage. If staining, use a clean cloth or brush to apply the stain in the direction of the wood grain, ensuring even coverage. Allow the stain to penetrate the wood for the recommended amount of time before wiping away any excess with a clean cloth. Allow the stain to dry completely before applying a protective topcoat if desired.
9. Attach Trim or Molding
To add a finishing touch to your bookshelves and enhance their visual appeal, consider attaching trim or molding to the edges. This not only provides a decorative accent but also helps to conceal any seams or gaps between the shelves and the frame. Measure and cut the trim or molding to fit the dimensions of the bookshelves, then attach it using wood glue and finishing nails. Be sure to carefully align the trim or molding with the edges of the shelves for a clean and professional-looking finish. Once the trim is attached, allow any glue to dry completely before sanding down any rough edges and applying a final coat of paint or stain to match the rest of the bookshelves. With the trim or molding in place, your bookshelves are now complete and ready to be displayed and enjoyed in your home or office.
10. Final Assembly

After completing the finishing touches such as filling screw holes, sanding, painting or staining, and attaching trim or molding, it’s time for the final assembly of your bookshelves. Carefully inspect each component to ensure that everything is in place and that the finish is uniform and free from any defects. If any adjustments are needed, now is the time to make them. Once you are satisfied with the overall appearance and construction of the bookshelves, proceed with the final assembly by attaching any additional hardware such as knobs or handles, if desired. Take your time during this step to ensure that everything is secure and properly aligned.
11. Install Shelf Brackets
If your bookshelves feature adjustable shelves, the next step is to install shelf brackets. Begin by determining the desired placement for each shelf bracket within the frame of the bookshelves. Use a level to ensure that the brackets are positioned evenly and mark the placement for the screws. Then, using a drill and appropriate screws, attach the shelf brackets to the sides of the bookshelf frame. Once all the brackets are securely in place, simply place the shelves onto the brackets and adjust them to the desired height. Test the stability of each shelf to ensure that it can support the weight of your books or other items.
12. Conclusion
Building bookshelves is a rewarding DIY project that allows you to create custom storage solutions tailored to your space and style preferences. By following the step-by-step guide outlined above, you can confidently tackle this project and enjoy the satisfaction of bringing your vision to life. From planning and measuring to cutting and assembling, each stage of the process contributes. The creation of sturdy, stylish bookshelves that enhance the functionality and aesthetic appeal of your home or office. Whether you’re a novice or an experienced woodworker, building your own bookshelves is a fulfilling endeavor that adds. A personal touch to your living space while providing practical storage for your book collection and cherished belongings.