
Paint chips on the wall can be A frustrating eyesore that can mar the overall appearance of any room. Whether they are caused by accidental bumps, Normal wear, And tear, Or moisture damage, These imperfections are something that many homeowners have to deal with at some point. However, The good news is that fixing paint chips on A wall doesn’t have to be A daunting task. With A few simple steps And some basic tools and materials, You can easily restore your walls back to their original pristine condition. In this article, We will walk you through the step-by-step process of how to fix paint chips on the wall, Helping you achieve professional-looking results without breaking A sweat or your bank account.
What Are Paint Chips?

Paint chips, regularly seen as small, irregular flakes or spots wherein the paint has peeled off, Are common problems that befall painted surfaces. These aesthetic nuisances commonly appear on partitions because of factors together with physical impact, Extreme climate situations, Terrible color exceptional, or mistaken utility techniques. Color chips disrupt the smoothness and visual enchantment of your partitions, making the overall décor look wiped out and aged. Understanding the nature of chips is step one towards a complete solution for coping with and repairing them.
How Can I Prevent Paint Chips?
Preventing paint chips starts offevolved with meticulous practise earlier than portray. This entails cleansing your partitions, applying a primer, and choosing extremely good paint. Ensuring a dust-free floor, using the right portray equipment, and following the proper painting strategies can notably reduce the threat of shade chipping. Regular upkeep, prompt upkeep of teenybopper cracks, and averting heavy affects at the wall also can prevent chipping. Prevention is always better than restore, Saving you time, Effort, And assets in the long run.
Benefit Of Paint Chips Fix
Fixing paint chips complements the classy appeal of your walls, contributing to the general atmosphere of your area. A well-maintained wall can leave a good influence on visitors and increase the comfort level of inhabitants. Moreover, well timed repair of colour chips enables prevent further harm, thereby extending the toughness of your walls and paint process. This now not handiest saves costs related to massive maintenance or repainting but additionally improves the fee of your property. So, solving shade chips is not just about keeping appearances however also about practical blessings and cost upkeep.
Identifying The Problem
The first step to fixing paint chips on your fix wall involves accurate identification of the issue. It may begin subtly, with tiny cracks or bubbles, or be quite apparent with noticeable chunks of paint peeling off the wall. Sometimes, paint chips might be hidden behind furniture or decor. Identifying the extent of paint chipping helps you gauge the severity of the problem, the necessary corrective actions, and the resources required. Through vigilant observation and periodic wall checks, you can catch paint chip issues early, making them easier to manage.
Understanding Paint Chip Issues
Paint chips, even as reputedly minor aesthetic concerns, should indicate deeper underlying problems. These could range from wrong wall coaching, inadequate pleasant of paint, or mistaken environmental conditions, to structural harm inside the wall itself. The area, size, and frequency of coloration chips can offer crucial clues approximately those underlying issues. By expertise colour chip issues, you can diagnose and address the basis purpose, preventing recurrence and preserving the integrity of your partitions.
Causes Of Paint Chips
Several factors can cause coloration chips. Inadequate wall education, like failing to easy, high, or smooth the floor, can reason the to peel off. Using low-extremely good painting in unfavourable environmental conditions like excessive humidity or temperature fluctuations also can result in chipping. Physical harm due to effect, developing older through the years, or structural issues like moisture seepage or motion in the wall are other commonplace motives. By information the motives, you may take preventive measures, ensuring the durability and sturdiness of your wall’s paint job.
Step-By-Step Guide On Fixing Paint Chips
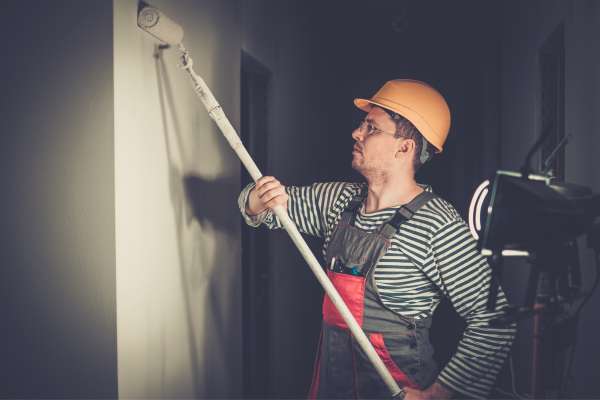
1. Preparation Stage

The preparation stage is crucial for successful wall paint chips fix repair. Start by cleaning the wall surface to remove any dust or debris. This ensures a smooth, uncontaminated surface for the repair. Next, Carefully remove the chipped paint using A scraper or sandpaper, being careful not to damage the wall underneath. Then, apply a quality primer to the chipped area. This will help the new paint adhere better and provide a uniform surface for painting. Ensure the primer is completely dry before proceeding. This initial preparation lays the groundwork for a seamless repair job.
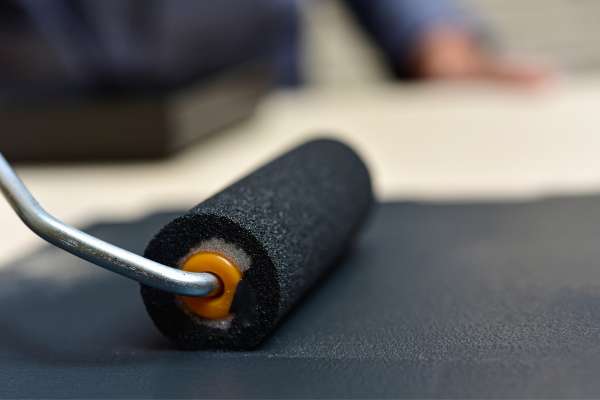
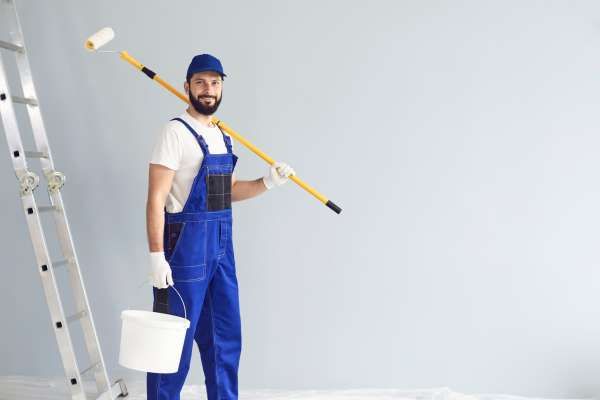
2. Gathering The Right Tools
Having the proper equipment is critical for A a success wall paint chips fix. You’ll need A scraper or first-rate-grit sandpaper to take away the chipped paint, A paintbrush or curler for painting, And possibly a putty knife if you want to fill large chips with filler or spackle. A cloth or sponge can be had to easy the wall, and you would possibly additionally require a ladder if the chipped areas are high up. Ensure all gear are smooth and in excellent situation earlier than starting the restore process. This guarantees a more expert finish and reduces the possibilities of further damage.
3. Choosing The Right Paint

Choosing the right paint is critical to seamlessly blend the repaired area with the rest of your wall. Ideally, use the same it used for the initial job. If that’s not available, aim to match the color, Sheen, And type (latex or oil-based) as closely as possible. You might need to take A chip off the existing paint to the store for an accurate match. Using high-quality paint ensures the repair will be durable and the color will not fade over time. Remember, the right It can make your chip repair almost invisible, restoring your wall to its former glory.
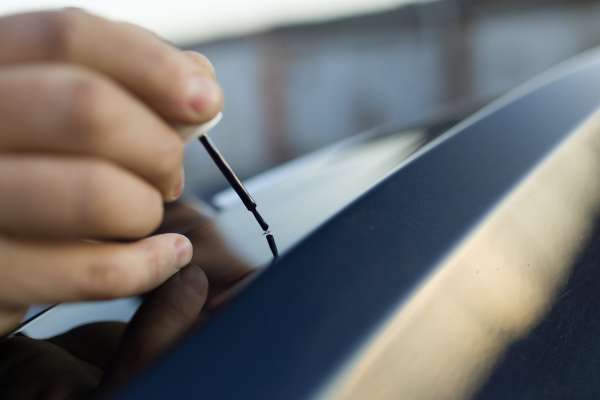
4. Execution Stage

At the execution stage, Begin via filling the chipped location with spackle or wall filler the use of A putty knife. Smooth the floor as a whole lot as viable and permit It to dry. Once the filler is dry, Color the patched area with your selected paint. Start with A skinny layer, Allow It to dry, And then upload greater as had to fit the encircling location. Be patient and paintings carefully, Ensuring A clean finish. This level is critical in defining the very last look of your wall, So make sure you’re completely glad with the result before thinking about the activity done.
5. Cleaning The Wall
Post-repair cleaning is crucial to maintaining the aesthetics of your wall. Start by removing any protective coverings you had placed on the furniture or floor. Next, Carefully clean any drips or splatters on the surrounding area using A damp cloth. Use A mild soap solution if the color doesn’t come off easily. Avoid vigorous scrubbing, particularly near the freshly painted area, To prevent any accidental damage. Remember, Cleaning not only gives your wall A fresh, appealing look but also aids in the early detection of any potential issues in the future.
6. Sanding The Wall
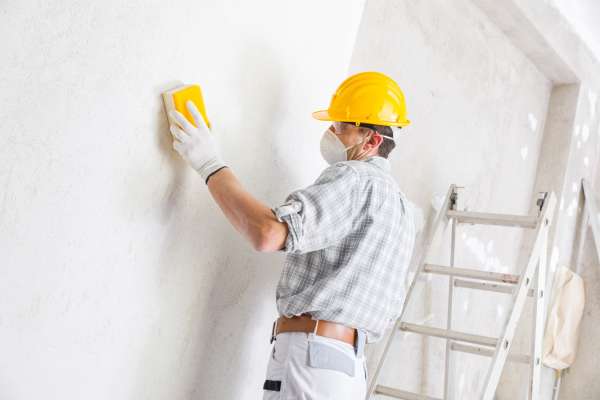
Sanding is A preparatory step that happens before the execution stage and after applying the wall filler to the chipped area. Once the filler is dry, Use fine-grit sandpaper to sand the area until It’s smooth And level with the rest of the wall. Sanding removes any bumps or ridges, Ensuring A seamless application. Wipe away the dust created by sanding with a slightly damp cloth before you begin painting. Proper sanding is essential as it directly influences the smoothness and uniformity of the final color job. Overlooking this step could result in a patchy and noticeable repair.
7. Priming The Wall
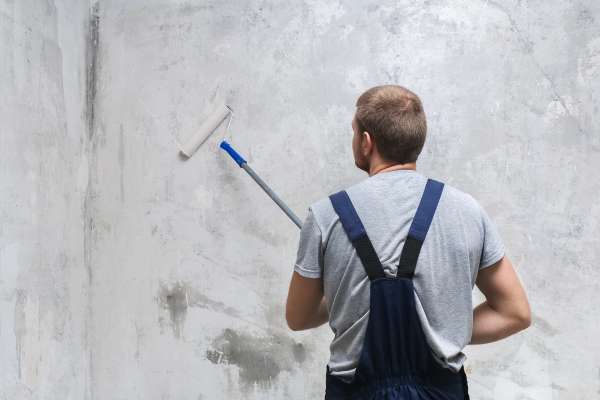
Priming the wall is A significant step in the paint chip repair process. After sanding the wall, Apply A layer of high-quality primer over the chipped area. The primer serves two purposes: It creates an adhesive surface for the color to stick to and helps in achieving A uniform color finish. Remember, The primer should match the type of color you’re using (latex or oil-based). Allow the primer to dry fully before proceeding to the color application. Proper priming ensures A better bond between the wall and the color, Resulting in A durable And smooth finish.
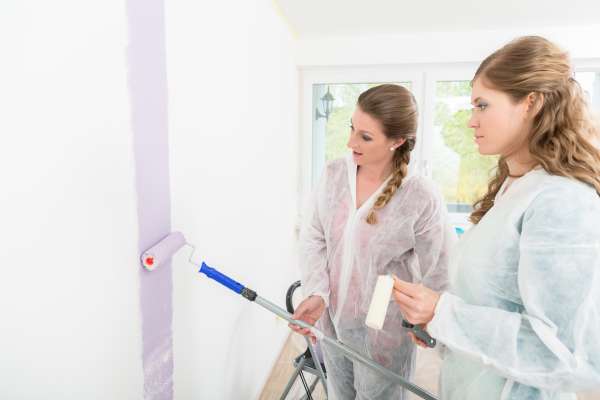
8. Repainting The Wall
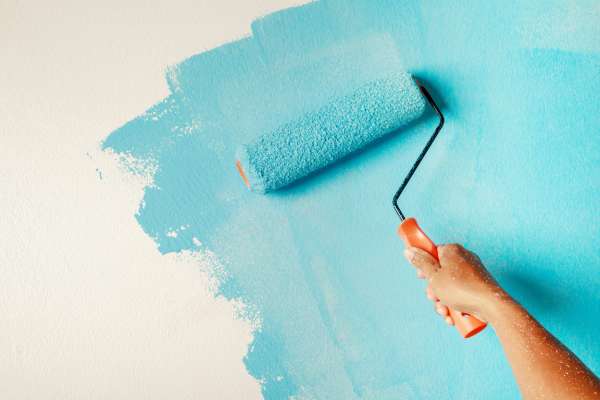
With the area properly prepared and primed, It’s time for repainting. Using the paint you’ve chosen to match the rest of your wall, Apply the first coat lightly with A brush or roller, Blending the edges into the surrounding paint. Allow this coat to dry completely. Depending on the color and type, You may need to apply multiple coats. Be patient and allow each coat to dry before applying the next. This careful layering ensures an even color and sheen that seamlessly integrates with the existing wall color.
9. Post-Fixing Activities
Post-fixing activities primarily involve the maintenance of the newly painted area. Be gentle while cleaning around this area for a few days, allowing the paint to fully cure. Inspect the wall periodically for any signs of new color chips or other issues. If the repair was done to correct water damage or other structural issues, ensure those are fully resolved to prevent future chipping. If the color chips were due to aging color, consider planning a full wall repaint in the near future for a fresh, uniform look. Remember, ongoing care and maintenance are key to keeping your walls looking their best.
10. Cleaning Up
Cleaning up after A paint chip repair job involves several steps. First, dispose of any used or primer cans as per local regulations, as these materials may be hazardous. Second, clean the brushes, rollers, and other tools you’ve used with an appropriate solvent. Store them properly for future use. Pick up any debris or dust from the floor and wipe down any surfaces that might have been affected during the process. Finally, move any furniture or decor back into its place. By maintaining a clean work area, you ensure safety and set the stage for easier future repairs.
Preventive Measures
Preventive measures play A key role in reducing the occurrence of color chips. Start by using high-quality color and primer, And properly prepare the wall surface before painting. Control humidity levels in the home, as excessive moisture can lead to color chipping. Protect your walls from physical damage, And avoid hanging heavy items that could cause stress to the wall. Regularly inspect your walls for early signs of chipping and deal with them promptly. By adopting these preventive measures, you can extend the life of your color job, Maintain the beauty of your walls, And reduce the need for frequent repairs.
Can I Use Any Paint For Touch-Ups?
Choosing the right paint for touch-ups is essential for a seamless repair job. Ideally, using the same type and color of color used originally on the wall yields the best results. If that’s not available, strive to match the sheen, type (latex or oil-based), and color as closely as possible. Different paints have varying degrees of shine and texture, which can cause noticeable differences when used for touch-ups. Additionally, color discrepancies, even minor ones, can make the repaired area stand out. Thus, while you can use any color technically, using the matching color ensures your touch-up blends perfectly with the existing wall.
Conclusion
Fix Paint chips on the wall may seem like A daunting issue to handle, But with the right tools, technique, And understanding, They can be easily fixed. From the preparatory stage of sanding and priming, Through the execution of painting, to the final touch-ups and cleanup, each step is critical for a successful color chip repair. Further, adopting preventive measures can reduce the frequency of these chips, helping maintain the beauty and longevity of your walls. So, don’t let paint chips dampen the aesthetic appeal of your home. With patience and precision, you can restore your walls to their original glory, ensuring they remain a reflection of your excellent taste and meticulous care.