
Painting A wall can be an interesting challenge which can remodel the look And feel of any room. Whether you are seeking to refresh the colour or add a pop of persona, using A curler is a good and powerful way to acquire expert-searching outcomes. In this text, We will manual you thru the step-by way of-step method of how to paint A wall with A roller, Ensuring that your completed challenge is faultless And remarkable. From prepping the surface to selecting the right paint and making use of It correctly, We have were given you covered with all the essential guidelines and strategies wished for A successful portray undertaking. So seize your roller and allow’s get began on beautifying your partitions!
What Is A Wall Roller?
A wall with a roller curler, More normally called A paint curler, is A vital device within the portray technique, in particular when you’re tackling huge, flat surfaces like walls or ceilings. Composed of two predominant parts – the curler frame (handle) and the roller cover (the cylindrical part that applies the paint) – it’s designed to distribute the paint lightly and quick over wide regions. The curler cover’s cloth can vary, from artificial fibers like nylon and polyester to natural fibers like sheepskin or mohair, Each suitable for extraordinary varieties of shade And surfaces. Using A paint curler permits for A smoother, more regular finish in comparison to brushes, making It an integral tool for each beginner DIYers and expert painters.
Introduction To Painting With A Roller
Paint A wall with A roller might seem like A daunting task, But with the right approach, It can be relatively simple And satisfying. Before you begin, you must prepare your wall – this involves cleaning it, patching any holes or cracks, and applying a primer if necessary. Next, you’ll need to choose the appropriate roller cover – the type of paint and the wall’s texture are primary factors here. When you’re ready to smear, you’ll begin by loading your roller with coloring from a roller tray. It’s crucial to ensure even coverage on the roller and to avoid overloading it to prevent drips. The painting should be done in a ‘W’ or ‘M’ pattern for an even distribution of color. Once the wall is covered, you’ll “back roll” over the painted area to smooth out any ridges or excess color.
Necessary Tools For Painting
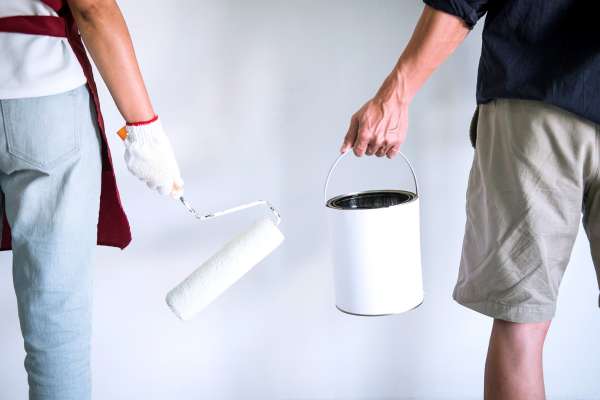
1. The Paint Roller
At the heart of any painting assignment is the paint roller. Choosing the proper roller is crucial for achieving a easy, even end. The curler accommodates a body and a cowl. The body is the cope with component, which often comes in exclusive lengths, allowing you to reach various heights. The cover is the part that applies the paint, And Its material varies relying at the form of stains and the feel of the floor you are portray. It’s desirable to have several sizes of rollers on hand, such as a widespread 9-inch curler for large regions and smaller, three-four-inch rollers for tight areas and edges.
2. Paint And Paint Tray
The type And quality of the stains you choose will greatly impact the final result. High-quality stains will cover better, last longer, and have a more vibrant color. Ensure you’ve enough color to complete your project to avoid color inconsistencies from different color batches. Additionally, a color tray is vital for holding your color while you work. It has a flat, ridged area where you roll the color to evenly distribute it on the tumbler cover. Some trays also come with hooks to attach to ladders or steps for easy access.
3. Additional Tools
Apart from the paint wall roller and paint, there are several additional tools that can assist in your painting project. Brushes are necessary for ‘cutting in’ – painting the edges and corners of the wall where a roller can’t reach. A roller extension pole is useful for painting high walls or ceilings without needing a ladder. You’ll also need painter’s tape to protect areas you don’t want to stains, like trim or window frames. Finally, drop cloths or plastic sheeting will protect your floor and furniture from stains splatters, and spills. By equipping yourself with the right tools, You’ll ensure A smoother, More efficient painting process.
4. Clear The Room
Before you embark on your painting project, It’s crucial to create A clean And uncluttered workspace. Start by removing as much furniture as possible from the room. If certain pieces can’t be moved, Place them in the center of the room And cover them with drop cloths or plastic sheeting. Remove wall decor, Light switch covers, And outlet plates. Ensure the floor is clean and free from dust or debris that might stick to your color roller. Prepping the room might seem like A tedious step, But It’s essential for protecting your belongings And creating A safe, Efficient environment to work in.
5. Protect The Non-Painted Surfaces
Protection is key when It comes to painting. You don’t want to end up with color on your baseboards, trim, windows, or ceiling. That’s where painter’s tape comes in. Apply It along the edges of the surfaces you want to protect, Ensuring A clean line between the painted And non-painted areas. Similarly, use drop cloths or plastic sheeting to cover floors and furniture, Securing them with tape if necessary. This preventive measure can save you A lot of clean-up time and preserve the integrity of your non-painted surfaces.
6. Preparing The Wall For Painting
A well-prepared wall with a roller is the foundation for a beautiful paint job. Start by cleaning the wall to remove dust, dirt, and grease. For textured walls or older colors, consider using a wire brush to remove loose color. Any holes or cracks should be filled with spackling compound And sanded smooth once dry. If the walls are stained or if you’re making a dramatic color change, applying a coat of primer is recommended. This step helps to conceal stains, provides a uniform base for the color, and can improve color adhesion. With these preparations, your wall is now ready to be transformed with your new color.
Painting Process
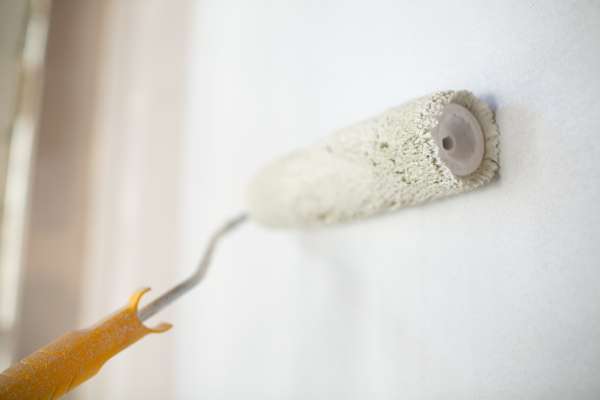
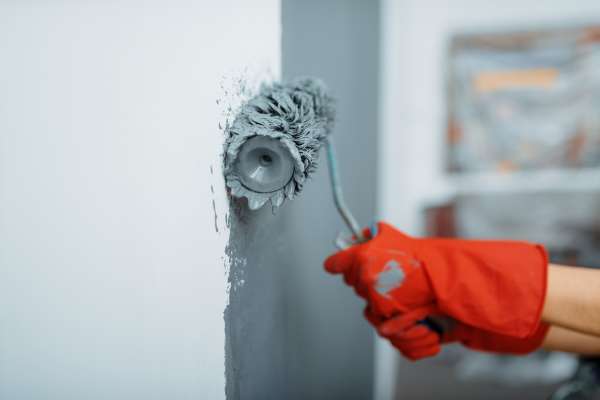
1. How To Load The Roller With Paint
Properly loading your paint roller is the first step to an even, drip-free paint job. Start by pouring color into your paint tray until it fills the well halfway. Dip the roller into the stains, then roll it back and forth on the ribbed section of the tray to distribute the paint evenly. The goal is to saturate the cover without overloading it – a dripping tumbler is too full. Repeat the dipping and rolling process until your tumbler is fully loaded and ready to apply color to the wall.
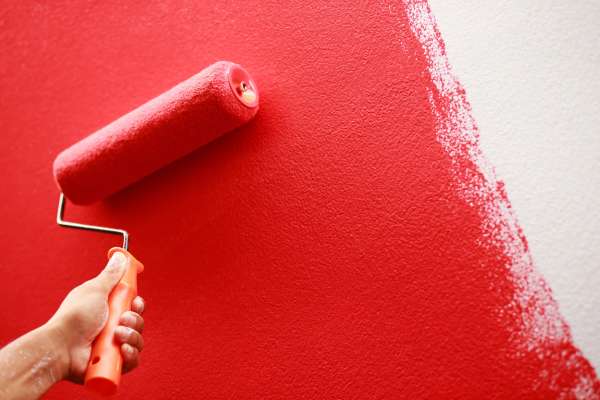
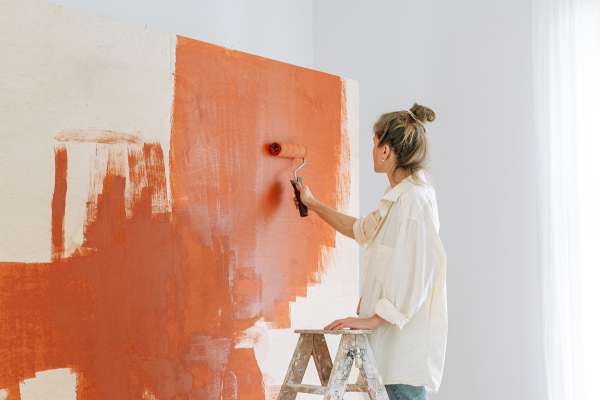
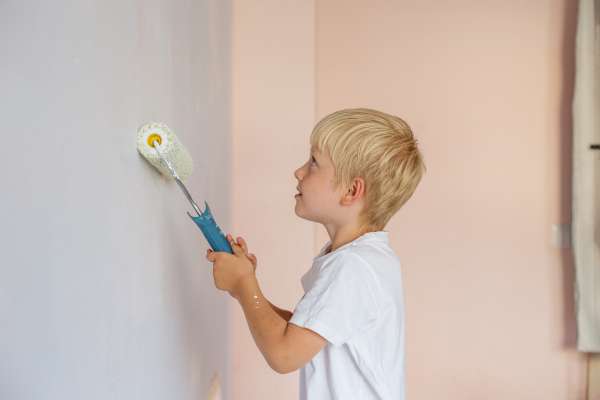
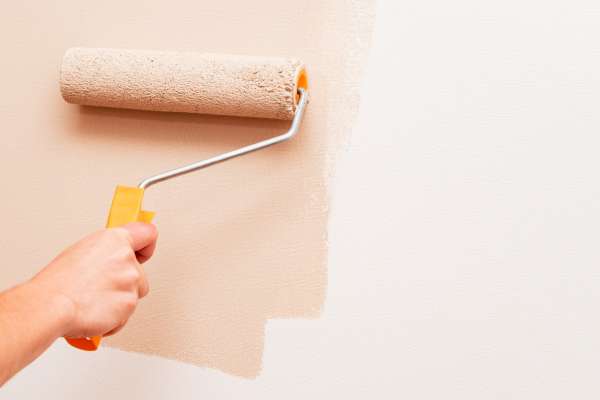
2. How To Apply Paint With The Roller
When it comes to applying paint, the technique is key. Start near the top of the wall, And paint in A “W” or “M” pattern, spreading the paint across A 3-foot by 3-foot section. This technique helps to distribute the stains evenly and avoids creating visible roller marks. Once you’ve spread the color, go over the same section without reloading the tumbler. This ‘back rolling’ process helps to smooth out the finish and eliminate any ridges or excess color.
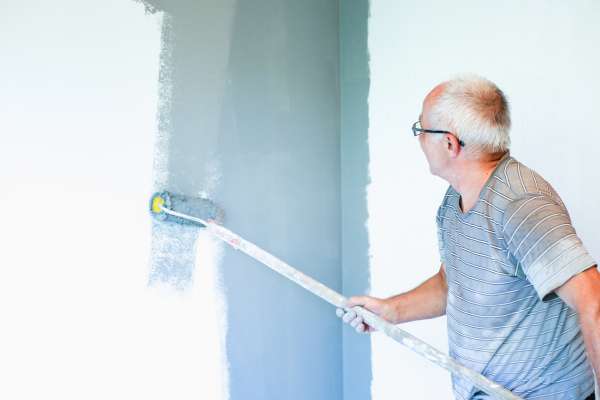
3. Tips For A Smooth Finish
To achieve a smooth finish, always maintain a wet edge. This means you should never allow the paint at the edge of your area to dry before you roll the adjacent area. Drying creates a noticeable line in the finish. If you’re painting on a warm day, consider using a stains extender, which slows drying time. Don’t press too hard on the tumbler; let the color do the work. And remember, two thin coats of color are better than one thick one. Let the first coat dry completely before applying the second.
4. Cleaning The Tools
After a successful painting project, it’s essential to clean your tools properly. Remove excess color from the tumbler cover by rolling it on a scrap piece of cardboard. Then, Wash It under warm water (for water-based paints) or with the appropriate solvent (for oil-based paints), Working the color out of the tumbler until the water runs clear. Allow the tumbler to dry completely before storing. Cleaning And caring for your painting tools extend their lifespan And ensure they’re ready for your next painting project.
Five. Returning The Room To Its Original State
Once the Paint is thoroughly dried, It’s time to carry the room returned to Its unique kingdom. Start through disposing of the painter’s tape. It’s exceptional to do this slowly and at an attitude to prevent peeling off any sparkling stains. If you’ve got covered your furniture and floors, cautiously fold up the drop cloths or plastic sheeting, being aware of any shade drips that would have dried on them. Replace outlet covers and switch plates, and re-hang your wall decor. Lastly, pass your fixtures lower back into region, and experience your newly painted room!
How Do I Prevent Roller Marks On My Wall?
Preventing roller marks, often called ‘lap marks,’ involves a few key strategies. Firstly, always keep a wet edge when painting. This means you should overlap your last stroke with the next while the stains is still wet to avoid creating lines. Secondly, don’t overload your tumbler with color – too many stains can cause drips and build-ups. Also, avoid pressing too hard on the tumbler, which can squeeze out excess stains and leave tracks. Lastly, consider using a color conditioner or extender which can give you more working time before the color dries, thus reducing the risk of lap marks.
Conclusion
Paint a wall with a roller is a rewarding DIY assignment that could refresh and remodel your space. With the right tools, right instruction, and considerate techniques, each person can gain a expert-looking paint activity. Remember that the important thing to A smooth, Even end is staying power And attention to detail do not rush the technique, and make the effort to prepare your wall and tools well. So, Ready to roll up your sleeves And get portray? You’re now equipped with all of the understanding you need for a a success painting mission!