Lighting up your space has never been easier with our step-by-step instructions tailored for DIY enthusiasts and beginners alike. In this illuminating blog post, we’ll walk you through ingenious methods to install ceiling light in any room without the hassle of existing wiring. From gathering essential tools to selecting the perfect location, we’ve got you covered. Discover smart techniques like wireless fixtures and battery-powered options that ensure a well-lit ambiance without the need for complex electrical work. Say goodbye to dark corners and hello to a brilliantly lit home. Let’s embark on this enlightening journey together, making your home brighter, one step at a time!
Can I install a ceiling light without existing wiring?
Absolutely! Advancements in lighting technology have made it possible to install ceiling lights without traditional wiring. Whether you live in an older home without wiring provisions or you simply want a hassle-free lighting solution, we’ve got you covered.
What are battery-powered lights?
Battery-powered lights are versatile, convenient, and energy-efficient lighting fixtures that operate on batteries. These lights come in various styles, from elegant chandeliers to sleek modern designs. They are easy to install, making them perfect for spaces where wiring is challenging or costly. Battery-powered lights offer flexibility and can be placed anywhere, providing instant illumination without the need for an electrician.
Safety Precautions

Before embarking on any electrical project, safety should always be the top priority. Ensure the power is turned off at the breaker box and use a voltage tester to double-check. Wear appropriate safety gear, such as gloves and safety glasses, to protect yourself from accidents.
Assessment of the Room

Evaluate the room layout to determine the ideal placement for your new ceiling light living room. Consider the proximity to power sources, structural elements, and the overall aesthetic appeal. Plan the wiring route, keeping in mind the shortest and safest path to connect the light to power.
Gathering Necessary Tools and Materials

Collect essential tools and materials, including a ceiling light kit, an electric cable, wire nuts, a junction box, a screwdriver, and a drill. Purchase a battery-operated stud finder to locate ceiling joists accurately. Additionally, acquire fish tape or glow rods to help feed wires through the ceiling safely.
Preparing the Ceiling

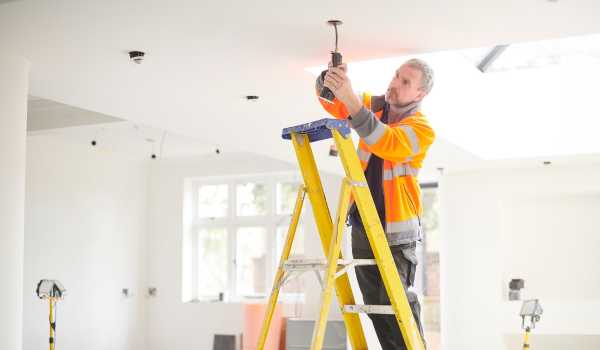
Preparing your ceiling is the foundational step for a successful light installation. Begin by locating the ceiling joists using a stud finder. Mark the exact position of your light fixture, ensuring it’s centered in the room. If necessary, install a support brace between the joists to provide a sturdy base. Cut an opening in the ceiling, allowing enough space for the junction box and wiring.
Routing the Wiring

Planning the wiring route strategically ensures a neat and safe installation. Map out the path, usually following the ceiling joists, and use tools like fish tape or glow rods to guide the wire. Run the cable from the power source, securing it to the ceiling joists with cable staples. Install the junction box into the hole you cut, connect the wires inside, and securely attach your light fixture.
Connecting the Light Fixture

Carefully connect the wires from your light fixture to the corresponding wires inside the junction box. Match the colors: black to black (hot), white to white (neutral), and green or bare copper to the ground wire. Secure the connections with wire nuts, ensuring they are snug and well-insulated. Tuck the wires neatly into the junction box.
Securing and Testing the Installation

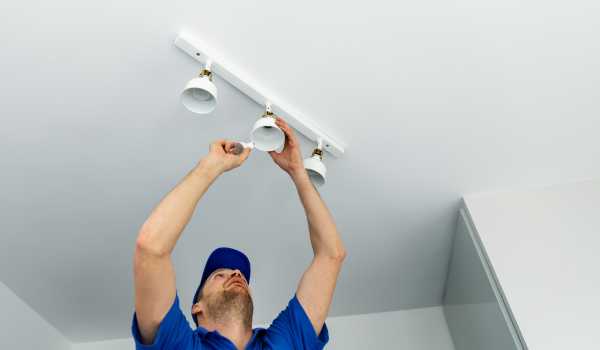
Secure the light fixture to the junction box following the manufacturer’s instructions. Double-check all connections to ensure they are tight and secure. Once everything is in place, restore power at the breaker box and test the light switch. If the light illuminates, congratulations – you’ve successfully installed a ceiling light without existing wiring!
Finalizing the Installation

Once the light fixture is securely connected and tested, focus on finalizing the installation for a polished look. Tuck all wires into the junction box, ensuring they are well-organized and not pinched. Use a screwdriver to tighten any screws in the junction box, ensuring everything is stable. Carefully attach the decorative medallion, ensuring it conceals the junction box completely for a seamless finish. Step back and admire your newly installed, well-lit space.
Additional Tips and Troubleshooting

Proper Insulation
Ensure all wire connections are well-insulated with electrical tape or wire nuts to prevent any exposed wires and reduce the risk of electrical issues.
Testing and Adjustment
Test the light thoroughly by turning it on and off multiple times to ensure it functions correctly. If there are any issues, double-check your connections and troubleshoot accordingly.
Regular Maintenance
Periodically inspect the light fixture for any signs of wear or loose connections. Address any issues promptly to maintain a safe and functional lighting setup. With these final touches and additional tips, you can successfully install a ceiling light without existing wiring, transforming your space with a beautiful and functional lighting solution. Enjoy your well-lit room!
Turn on the Power

Before you proceed with patching and painting, make sure you have turned on the power at the breaker box to test the newly installed ceiling light. Verify that it functions properly, providing the desired illumination to your room. This step ensures that your hard work has paid off and your space is well-lit.
Patch and Paint

After confirming the functionality of the light fixture, it’s time to patch up any holes or gaps created during the installation process. Use a spackle or joint compound to fill in the opening around the junction box and the ceiling medallion. Once the patch is dry, sand it down until it’s smooth and level with the surrounding ceiling. Finally, apply a matching paint color to seamlessly blend the patched area with the rest of the ceiling. With the power on and the ceiling flawlessly patched and painted, your room now boasts a professionally installed ceiling light without existing wiring. Enjoy the enhanced ambiance and functionality of your well-lit space!
Conclusion
Installing a ceiling light without existing wiring might seem daunting, but with careful planning and attention to detail, it’s entirely achievable. By following the steps outlined in this guide and staying mindful of safety precautions, you can illuminate your space effectively and aesthetically. Remember, when in doubt, seek expert advice. Now, enjoy the ambiance of your well-lit room, and revel in the satisfaction of a DIY job well done!
