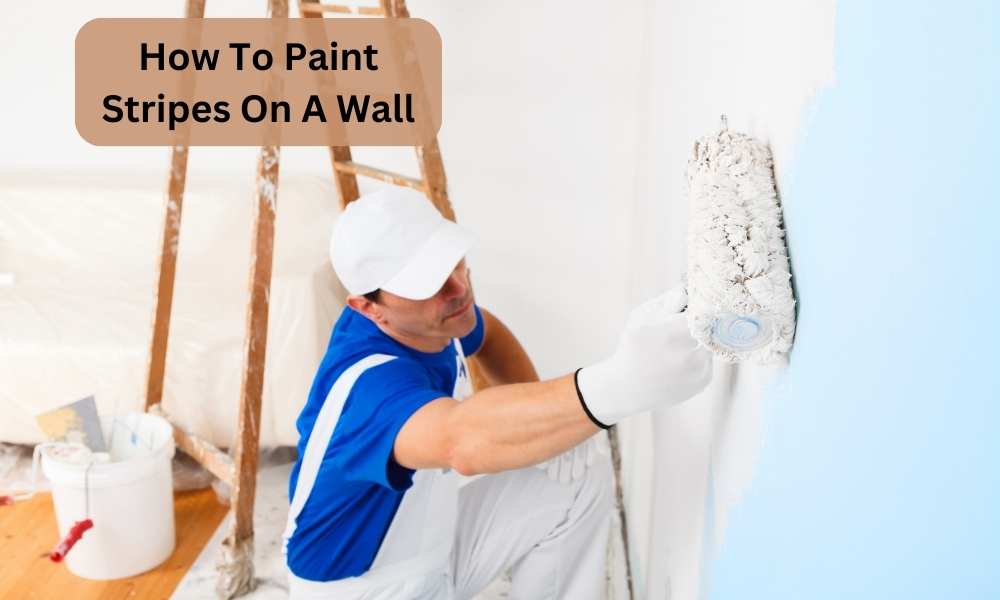
Painting stripes on A wall is A fantastic way to achieve just that! Whether you want to create A bold statement in your living room or add some visual interest to A boring hallway, painting stripes can instantly transform the look And feel of any space. But how do you go about achieving those perfectly straight lines without ending up with A messy, Uneven result? In this article, We will guide you through the step-by-step process of how to paint stripes on A wall, Ensuring professional-looking results that will leave your guests in awe. So grab your paintbrushes and let’s get started on this exciting DIY project!
How Do I Choose The Colors For My Striped Wall?
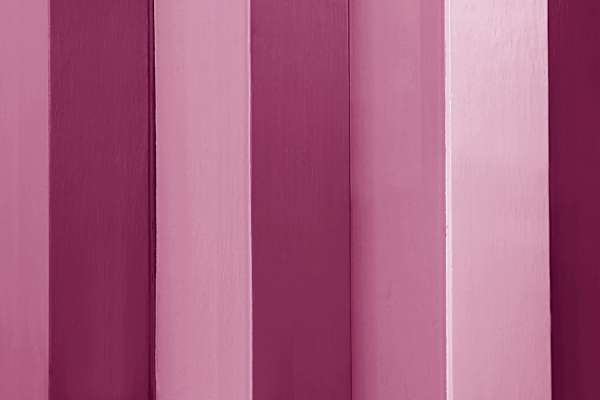
Choosing colors for your striped wall involves balancing personal taste, Room decor, And the psychology of color. Consider the current color scheme of your room, Including furniture And accents, And visualize how your striped wall will complement this. Note the mood you want to create. For A calming atmosphere, Opt for blues or greens. For an energetic vibe, Bright hues like reds or yellows are great. The contrast between the stripes is another key aspect. High contrast can be bold And attention-grabbing, While low contrast creates A subtle And soothing effect. Lastly, Remember that It’s your space – Your color choice should make you feel good!
What Kind Of Paint Should I Use For Painting Stripes On My Wall?
Choosing the right type of paint for your striped wall project can significantly influence the outcome. Most experts recommend using latex or acrylic paints due to their easy application and quick drying time. Sheen can also play A role in the visual effect. Flat finishes can help hide fence imperfections, While glossier sheens add A certain level of shine and durability. Remember, The paint’s quality is critical. Higher-quality paints provide better coverage and longevity. If your fence is dark And your stripes are lighter, consider using A primer to ensure A vibrant end result.
The Art Of Wall Stripes: Why It’s Worth It
Wall stripes can transform an ordinary wall into A captivating feature in your room. This timeless design element provides an avenue for personal expression while adding depth And visual interest to A space. Stripes can elongate or widen A room depending on their orientation. They’re versatile, Suiting minimalist, modern, Or even eclectic styles. And while the task might seem daunting, It’s an achievable DIY project. With careful planning, the right tools, and patience, You can create A beautiful striped border that echoes your personality and style. The feeling of accomplishment once you step back and look at your handiwork? It’s certainly worth it.
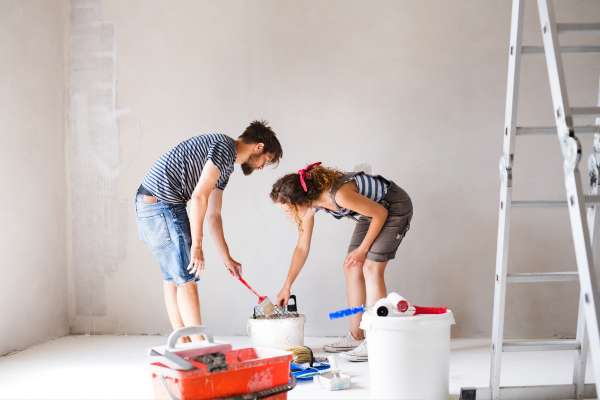
Essential Tools For Painting Stripes
Having the right tools is critical to achieving crisp, Evenly-spaced stripes on your coats of paint on wall. Some must-haves include A measuring tape to accurately plan your stripe widths, A level to ensure your lines are straight, and painter’s tape to mark off the areas for your lines. A good-quality paintbrush And roller are essential for smooth application and even coverage of paint. A small angled brush helps with precision work along edges. You may also need A step ladder to reach the upper portions of your fence. Lastly, Don’t forget the drop cloth to protect your floors And furniture from accidental paint drips. With the right tools, your painting project can go smoothly and efficiently.
Choosing Your Paint Colors

Choosing the right paint colors for your striped wall is both an exciting And crucial step in your DIY project. First, You must decide how many colors you want to use. A single color can create A subtle, Sophisticated look when applied in different sheens. Two contrasting colors, on the other hand, can make A dramatic statement. More colors add vibrancy And A playful touch. Your chosen colors should blend well with the overall color scheme of the room. Consider the psychological effects of colors, too. Warmer tones can create A cozy, Welcoming atmosphere, While cooler shades can evoke calm And serenity.
Measuring And Marking Your Wall

Once you’ve gathered your tools And chosen your paint colors, It’s time to prepare your wall. Accurately measuring And marking your wall is A crucial step in painting stripes. Start by measuring the wall’s height or width, Depending on whether you want vertical or horizontal lines. Divide this by the desired number of stripes to determine the width of each stripe. Use A level And pencil to mark the lines, Ensuring they’re straight and evenly spaced. You can then apply painter’s tape on the outside of the pencil lines where the lines will go. This step requires patience And precision, But It’s vital for achieving professional-looking results.
Marking The Stripes
Marking the stripes is a meticulous yet rewarding step in the process of paint stripes on your wall. First, use a level and measuring tape to determine the position and width of each stripe. Once you’ve measured, use a pencil to lightly draw lines on your wall. Be sure these lines are straight, as they’ll guide your painting. Next, apply painter’s tape along the outside of each pencil line. Remember to press down firmly on the tape to prevent paint from seeping underneath. It’s a good idea to mark the sections you’re not painting first to avoid confusion. This step may require time and patience, but it sets the foundation for neat, professional-looking stripes.
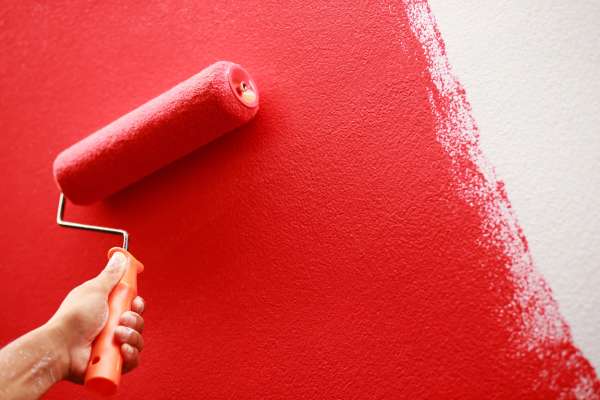
Painting The Stripes
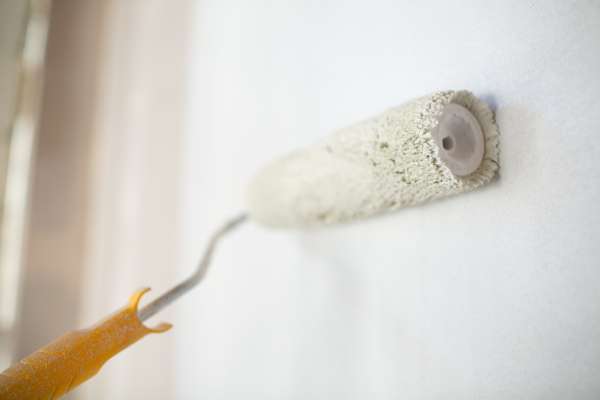
Once your wall is prepped And your stripes are marked, It’s time to bring your vision to life. Start by painting the stripes that are within the areas marked off by the painter’s tape. Using A small, Angled brush can help with precision along the edges. Once the edges are done, Fill in the middle area with a paint roller for quick and even coverage. It’s best to apply two coats of paint for vibrant, even color. Remember to let the first coat dry thoroughly before applying the second. With careful application, Your lines will start to take shape And bring A dynamic new look to your fence.
Finishing Touches

After you’ve painted your stripes And the paint has thoroughly dried, carefully remove the painter’s tape. Peel It back slowly at A 45-degree angle to avoid tearing off any paint. If you notice any imperfections or seepage under the tape, you can touch them up with A small brush. To finish off your freshly painted striped fence, Consider adding A clear, protective finish for durability. Once everything is dry and cleaned up, Step back and admire your work. The attention to detail in the final touches will make your striped fence a true statement piece, adding character and charm to your space.
Removing The Tape
Properly removing the painter’s tape is A vital step in creating clean, Sharp lines on your striped wall. It’s crucial to wait until the paint is completely dry to avoid smudging or peeling. When the time comes, peel the tape back slowly And carefully at A 45-degree angle. This technique will help minimize any damage or lifting of the new paint. If you encounter A small amount of paint seepage under the tape, Don’t worry. You can touch up these areas with A small paintbrush and some of your base paint. This careful removal process ensures the best possible end result for your striped border.
How Do I Ensure The Stripes On My Wall Are Straight?
Ensuring straight stripes on your border is A combination of careful measurement, Using the right tools, And taking your time. Begin by accurately measuring the width of your border And deciding on the width of your stripes. A level is an invaluable tool in ensuring your lines are straight, And painter’s tape will mark out your stripe boundaries. Always check And double-check your markings. If you rush this process, you might end up with crooked stripes. Remember, Patience And precision are key to achieving the crisp, straight lines you desire.
Can I Paint Stripes On A Textured Wall?
Yes, You can paint stripes on a textured wall, but it can be a bit more challenging. The textured surface may create an uneven line where the painter’s tape is applied. One trick is to first paint the stripe color, then apply the tape and paint the wall color. This way, if any paint seeps under the tape, it matches the stripe color. A good-quality, angled paintbrush can help get into the nooks and crannies of the textured surface. With some extra patience and careful application, stripes on a textured wall can add an extra layer of visual interest.
Conclusion
Painting stripes on A wall is an excellent way to add character, Depth, And personal style to your space. It may seem like A daunting task, but with the right tools, accurate measurements, and patience, it’s A highly rewarding DIY project. Whether It’s a textured or smooth border, subtle or bold stripes, the process is largely the same. The most important thing is to take your time and enjoy the transformation of your space. In the end, you’ll have a unique striped border that you can truly be proud of.